If you have recently had micro:bit paired over USB to MakeCode, you will need to unpair from MakeCode. Instructions about how to unpair micro:bit from MakeCode are at the bottom of this page:How to reset your micro:bit.
If this is your first time using this micro:bit with Blocks Jr you will need to install the Blocks Jr for micro:bit software.
Setting up your micro:bit
1. Using a Chrome or Edge browser, go to Blocks Jr in the Robotical Web App.
2. Start a new project, or click into an existing project.
3. You can use micro:bit with the Blocks Jr coding platform to control a physical device, such as Marty or Cog, or to control a sprite on screen. Use the toggle in the top right corner of the screen to switch between these options.

4. Connect your micro:bit to your computer using a micro USB cable.
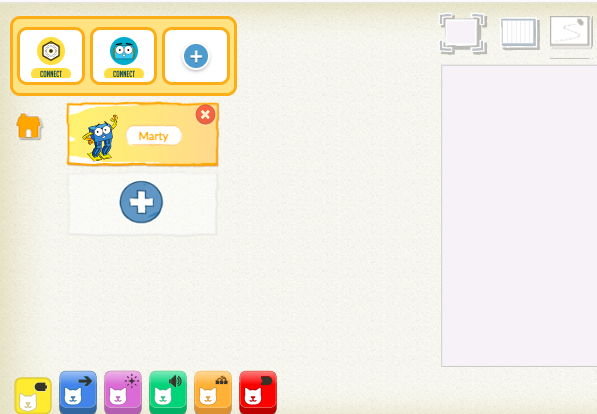
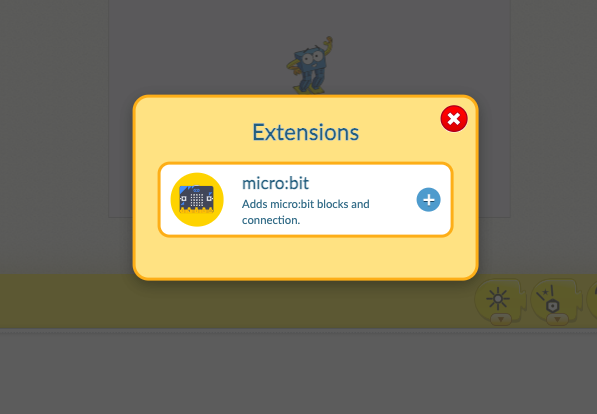
5. Click the “Plus” button in the top left corner of the screen, and then press the micro:bit extension in the pop-up. A box will appear with the options Install Software and Connect.
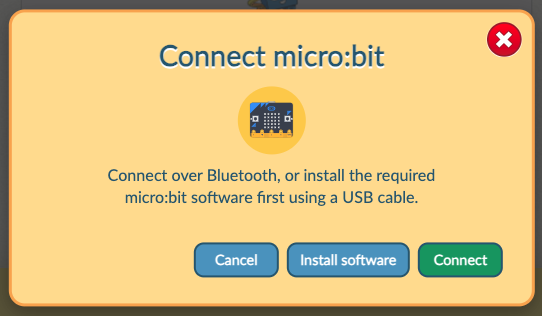
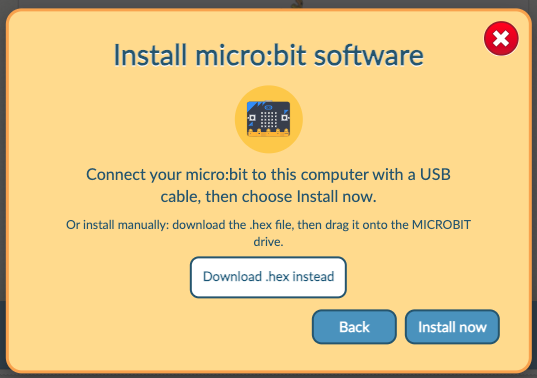
6. To install the software, click Install Software. You will then have two options: Install Now, directly through your browser, or Download the .hex file and drag it onto the micro:bit drive.
7. A pop-up window will appear asking you to connect your computer to the micro:bit. Select your micro:bit from the list and click Connect.
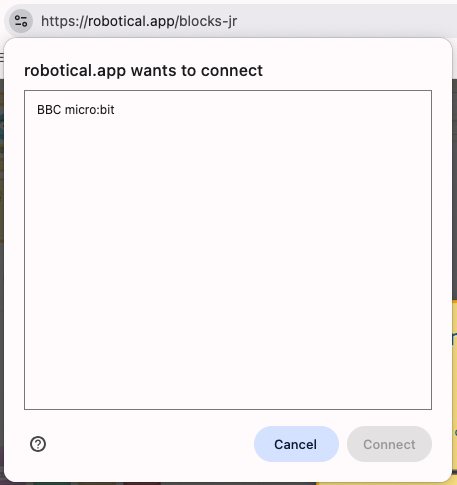
8. The LED beside the USB port will flash orange while the software is being installed on your micro:bit. Once the software has been successfully installed, the micro:bit will scroll a five-letter name across its LEDs.
Connecting your micro:bit
9. If the Blocks Jr for micro:bit software is already installed or has been successfully installed, click Connect instead. A pop-up window will ask you to pair your micro:bit. Select your device and click Pair. The name of your micro:bit will scroll across its LEDs, helping you confirm that you have selected the correct device.
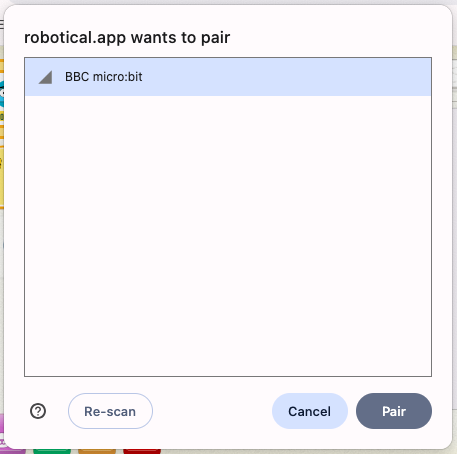
10. Once connected, the name of your micro:bit will appear in the micro:bit selector at the top left of the screen.
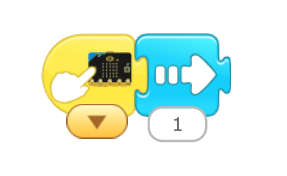
11. Test your connection. Drag an “On Button Press” block from the yellow micro:bit blocks on the right of the screen into the coding area. Then add a movement block from the blue blocks on the left-hand side of the screen. When you press the “A” button on your micro:bit, your sprite should move across the screen according to the movement block you have chosen.
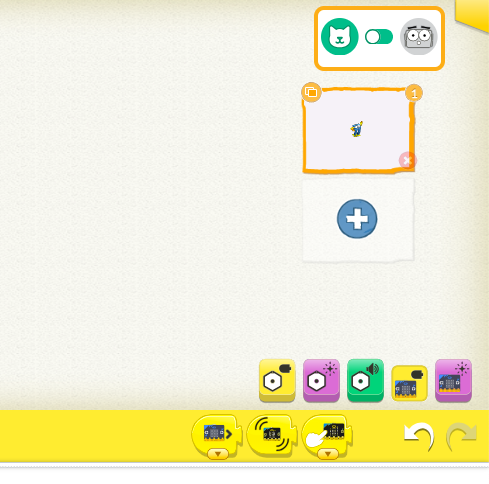
12. You're all set! You can continue to power the micro:bit using the USB cable, or add a battery to power it. Now you can start coding and have fun using sprites, Marty, Cog and your micro:bit.