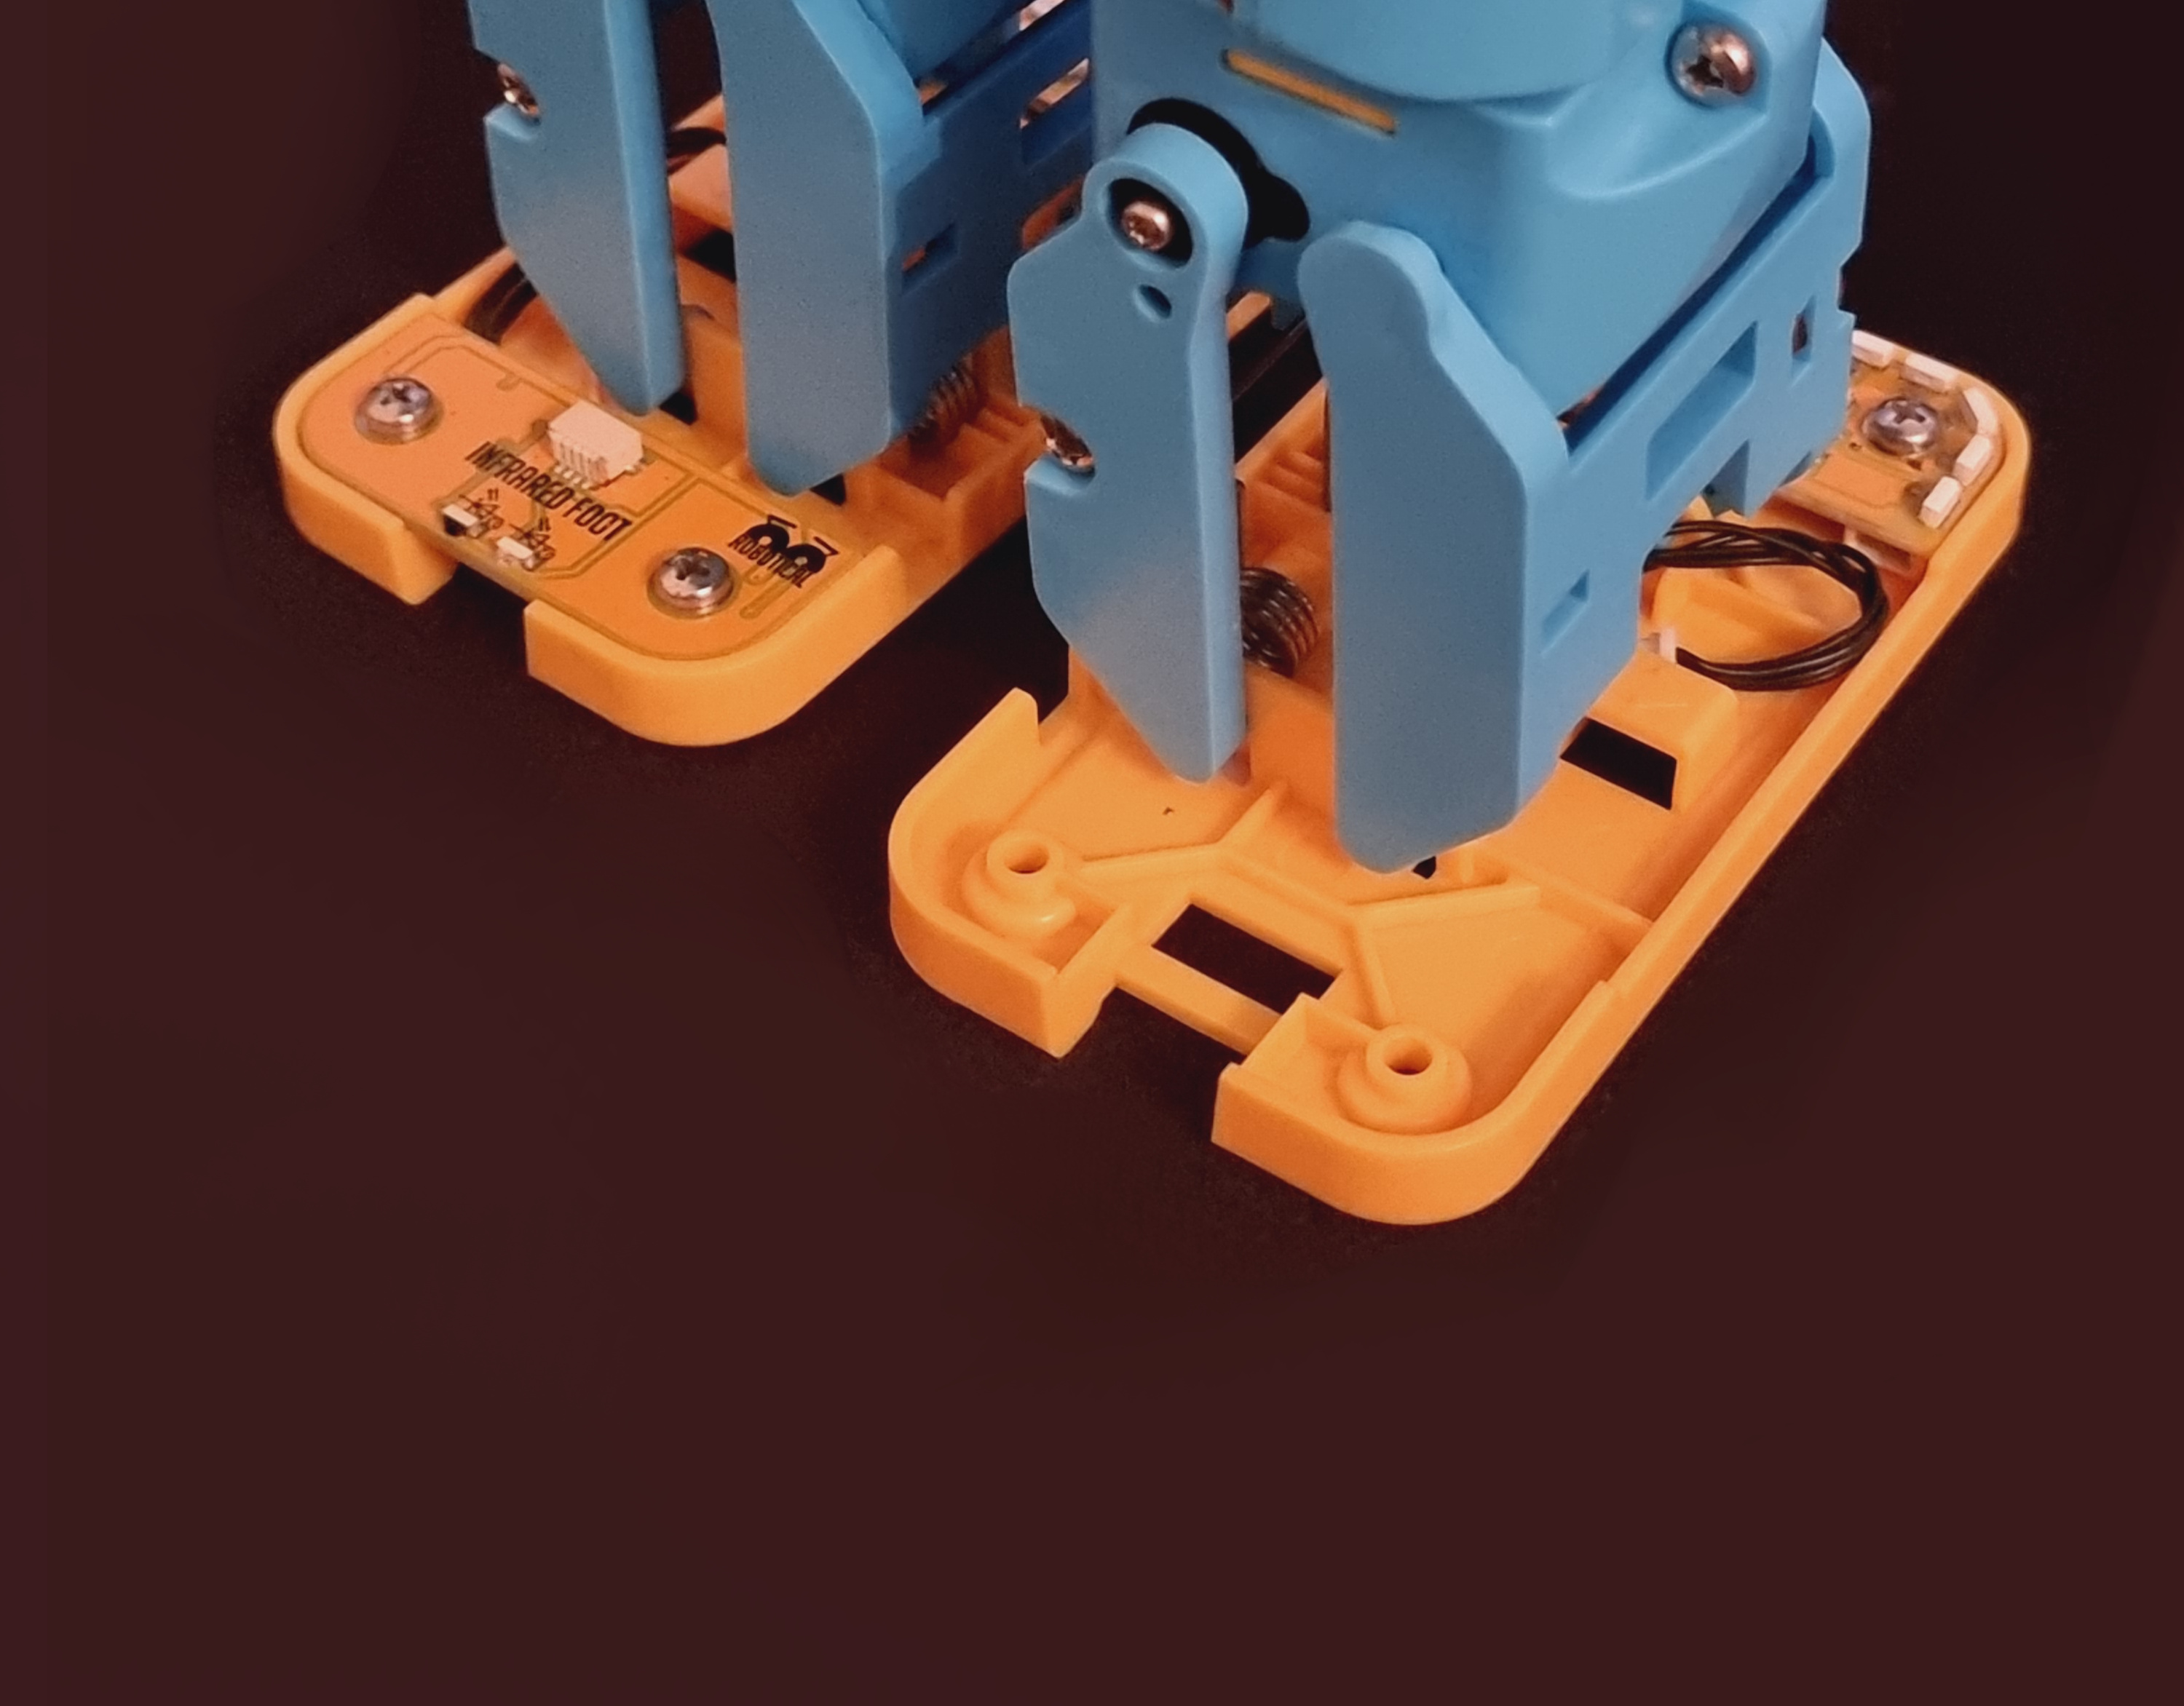
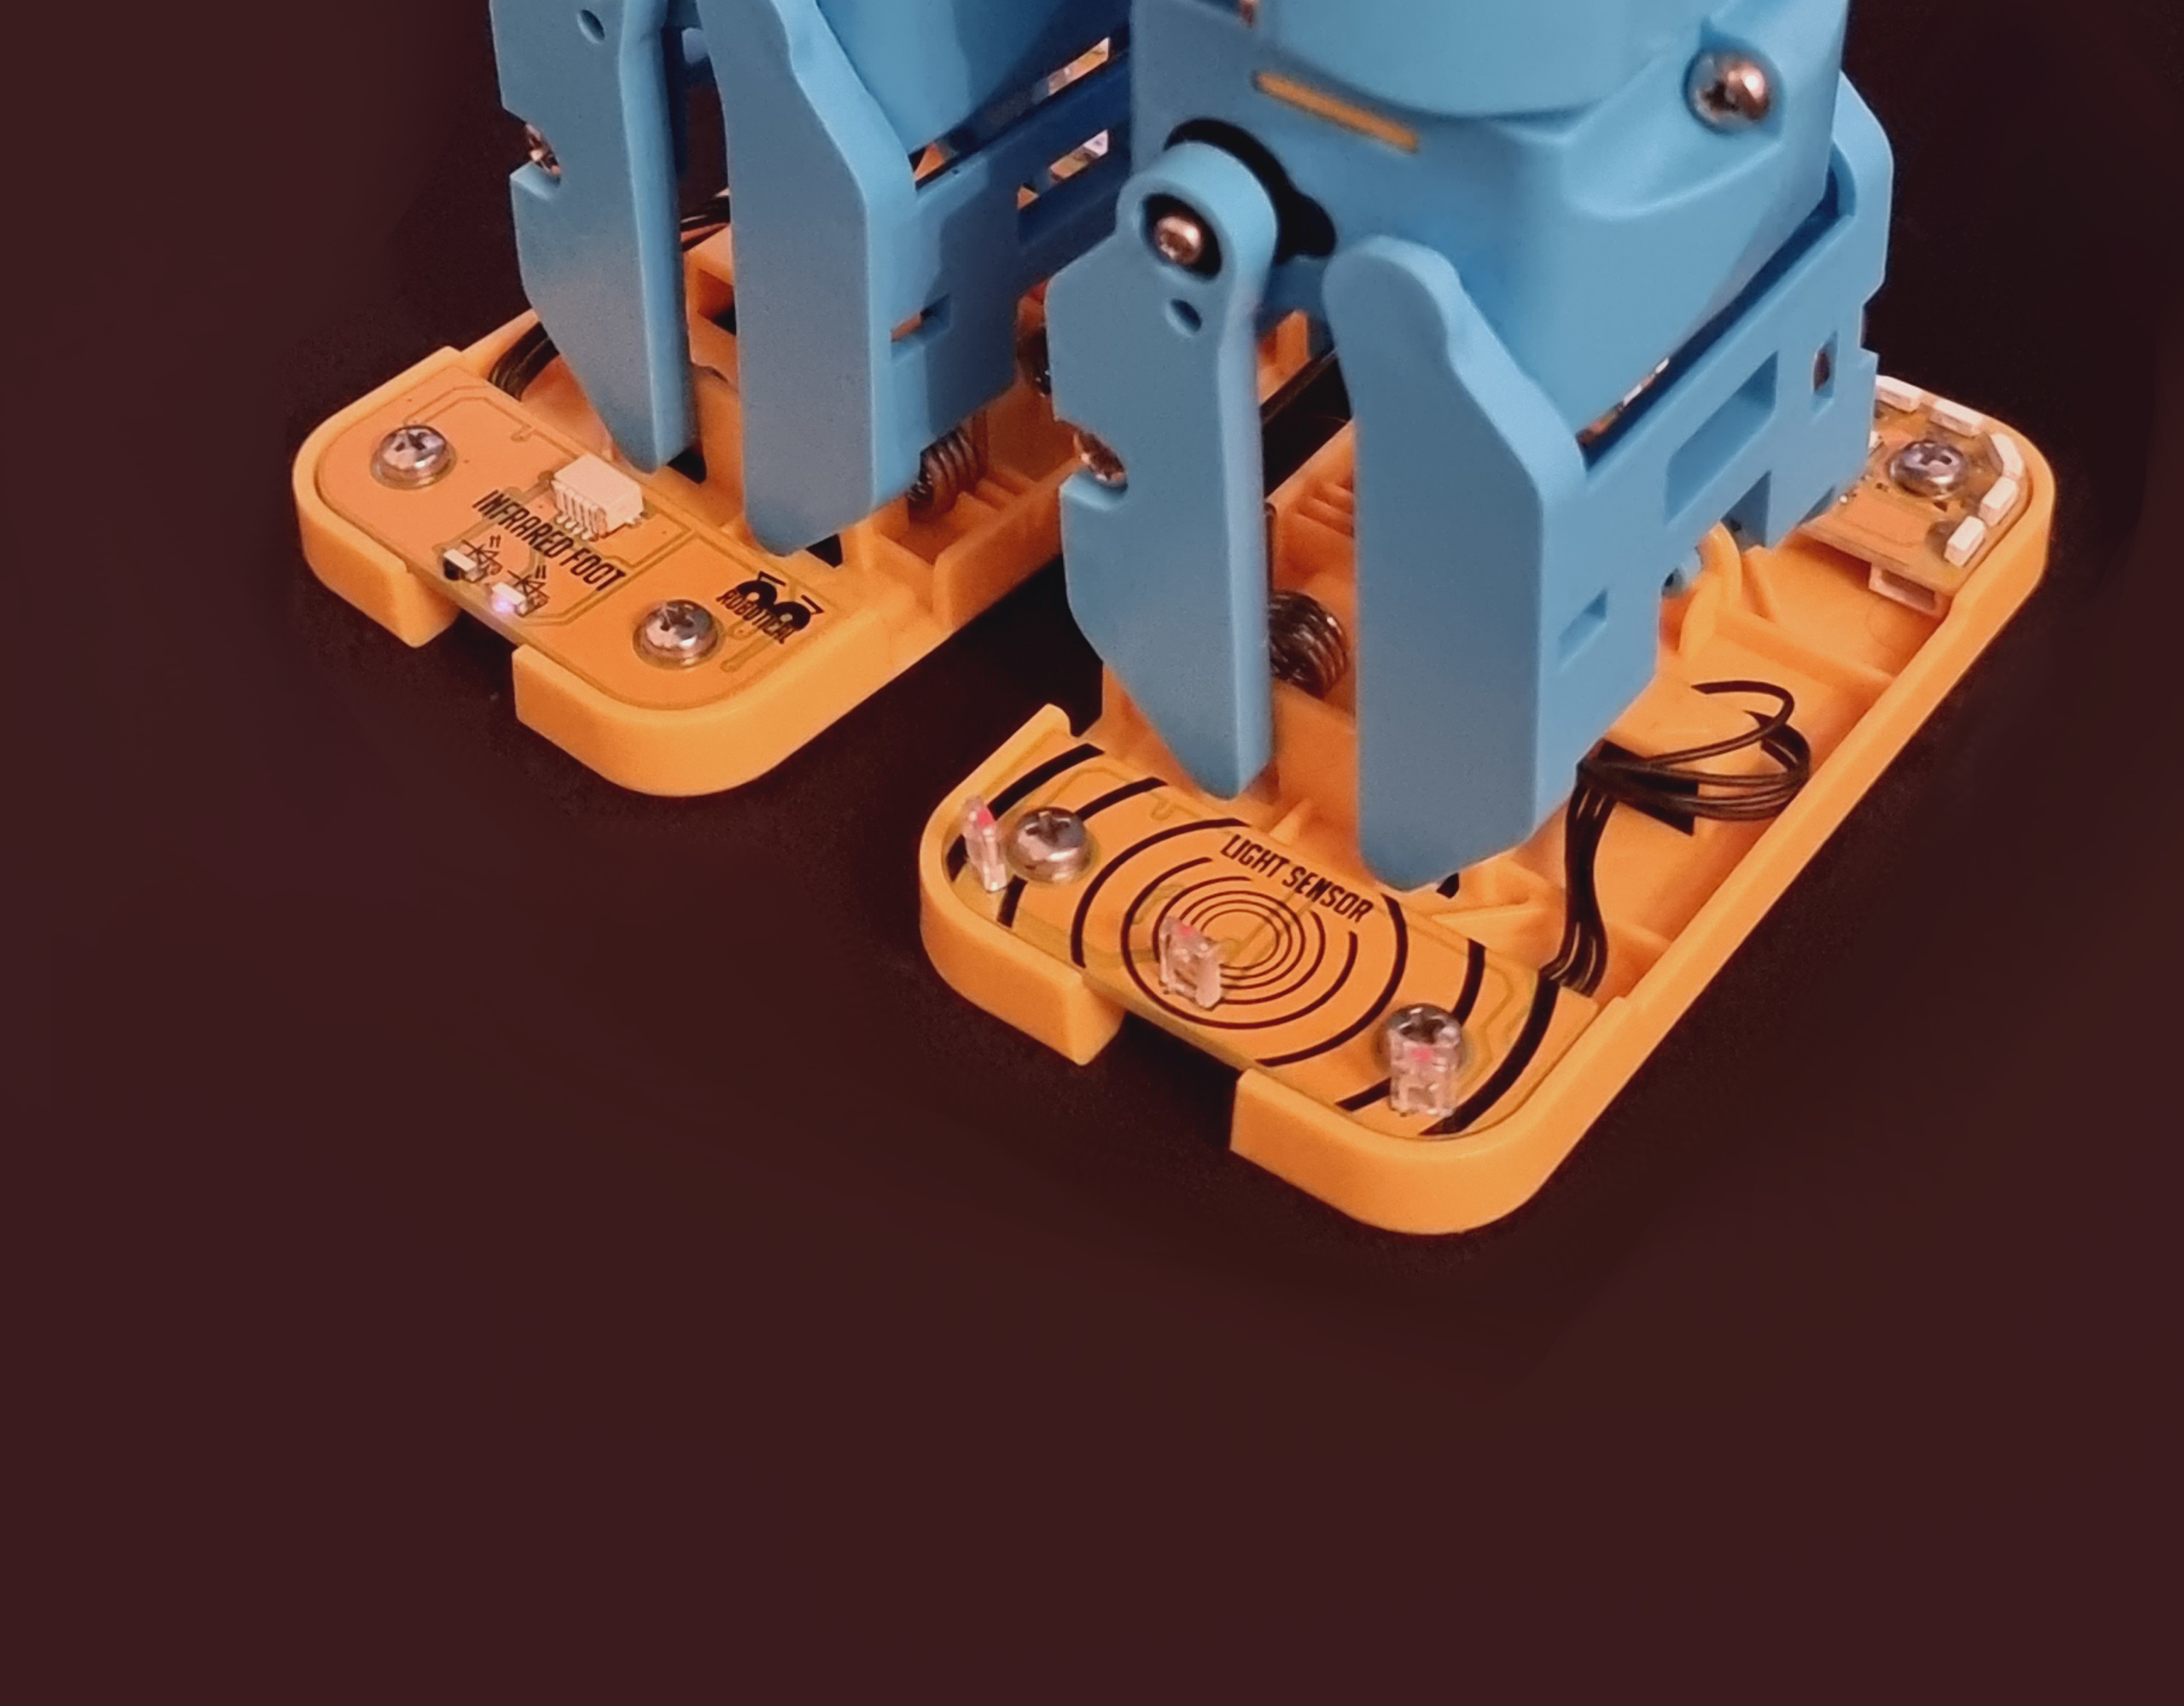
The light sensor add-on can be used to measure overall light level nearby. The add-on is actually made up of three light sensors which you can see in the photo below.
Front of light sensor, showing the three light sensors
Back of the light sensor, showing the i2c connectors, microcontroller and the rest of the circuitry
Set Up
The light sensor is designed to attach to one of the two attachment points on each of Marty's feet - the front or the back.
Installing the Sensor
Step 1: Decide where to mount the sensor, and ensure you have a free cable
You may need to unscrew and disconnect an existing sensor to make space for the light sensor. Alternatively mount it at the back of the foot instead.
Step 2: Connect the cable to the light sensor
Connect the black i2c cable to either socket on the light sensor - it doesn't matter which one
Step 3: Fix the light sensor board to Marty
Use two M3 nuts and bolts to firmly fix the light sensor to the foot.
Checking and Configuring the Sensor
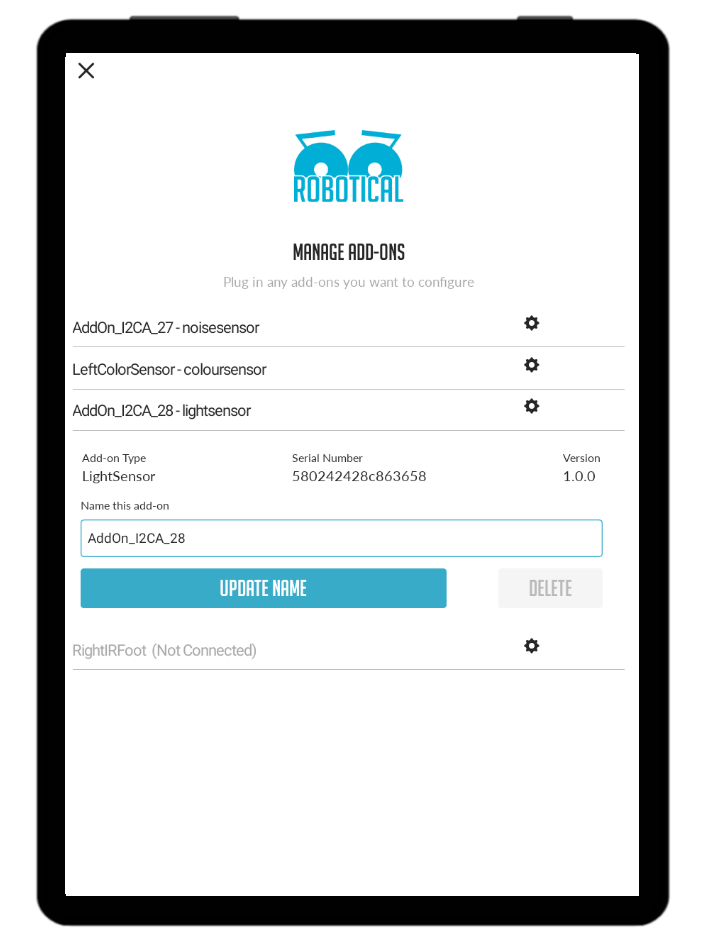
When you are connected to your Marty from the Marty the Robot v2 app, select Configure then Add-ons to get to the Add-on configuration screen.
Your light sensor should be shown in the list of addons. It will have a default name like “AddOn_I2CB_28” unless you have previously given it a name.
There is no need to rename the sensor unless you have more than one
Using with Marty Blocks
The light sensor can be read using the “<left/right> light sensor <1/2/3>” block under Sensing.
If you only have one light sensor, it doesn't matter if you select the left or right option. If you have two light sensors you must name them LeftLightSensor and RightLightSensor in the add-on configuration screen for them to be identified correctly.
The block will always return a positive number, with a higher number meaning more light.
Try shining the torch from a mobile phone on the senor and see what happens!
Click the checkbox next to the light sensor to see a live display of the sensor value


