If you've received your Marty after 2020 it's likely you have a version 2!
Quick Check!
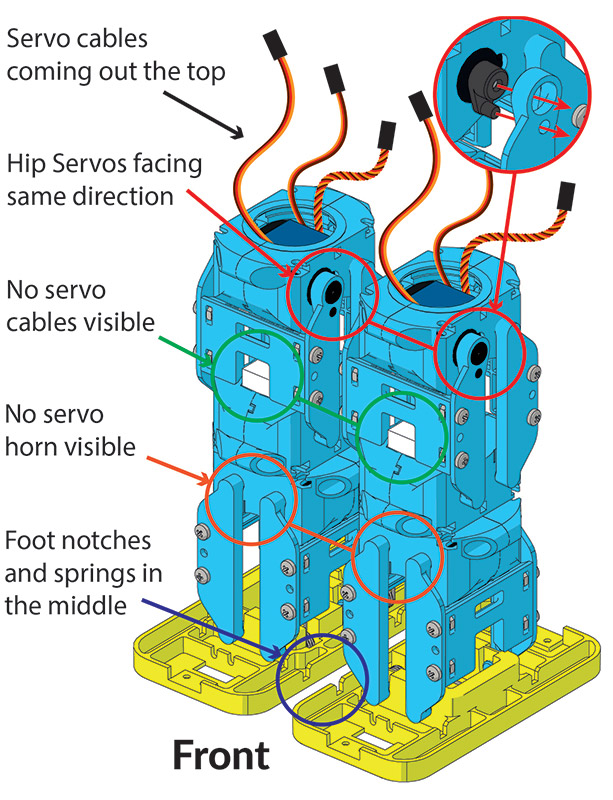
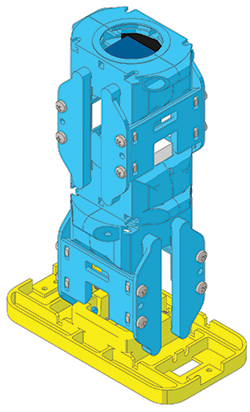
Firstly, check that you've got all the right bits for your Robot built — Two legs, both halves of the Head, and two Arm Assemblies. Also take the time now to check you've got both legs built correctly, as it's harder to fix later!
If they don't look exactly like the image, take another look through the Legs steps 1 through to 11.
Step 20
It’s time to put the legs on the body — thread the servo cables through the holes in the Head Base and then place the Head Base on top of the legs. Make sure they’re the right way around! The notches in the feet should be on the inside of both legs.
Grabbing hold of your assembly, turn it upside down. You may find this is easier if you do one leg at a time.
Place a 2.5mm Nut into one of the slots at the top of the leg, using the nifty funnels on the Head Base to help the nut get in. Then, pass a 2.5mm Bolt through the hole in the Head Base and screw together. Doing these one at a time reduces the risk of the nuts falling out. Repeat this eight times to get both legs firmly attached.
Now on to the Electronics to plug everything in and get going!


