Marty V2 comes with one sensor attached to each foot, but each foot can hold a sensor at both the front and the rear. To connect two sensors on one foot, use a sensor bridging cable to join them in a daisy chain.
Set Up
Marty foot sensors can be fitted to the front or back of either foot. Before fitting them, consider:
- Sensing direction: IR and colour sensors detect the environment in front of and below them. Point each sensor in the direction you want Marty to sense.
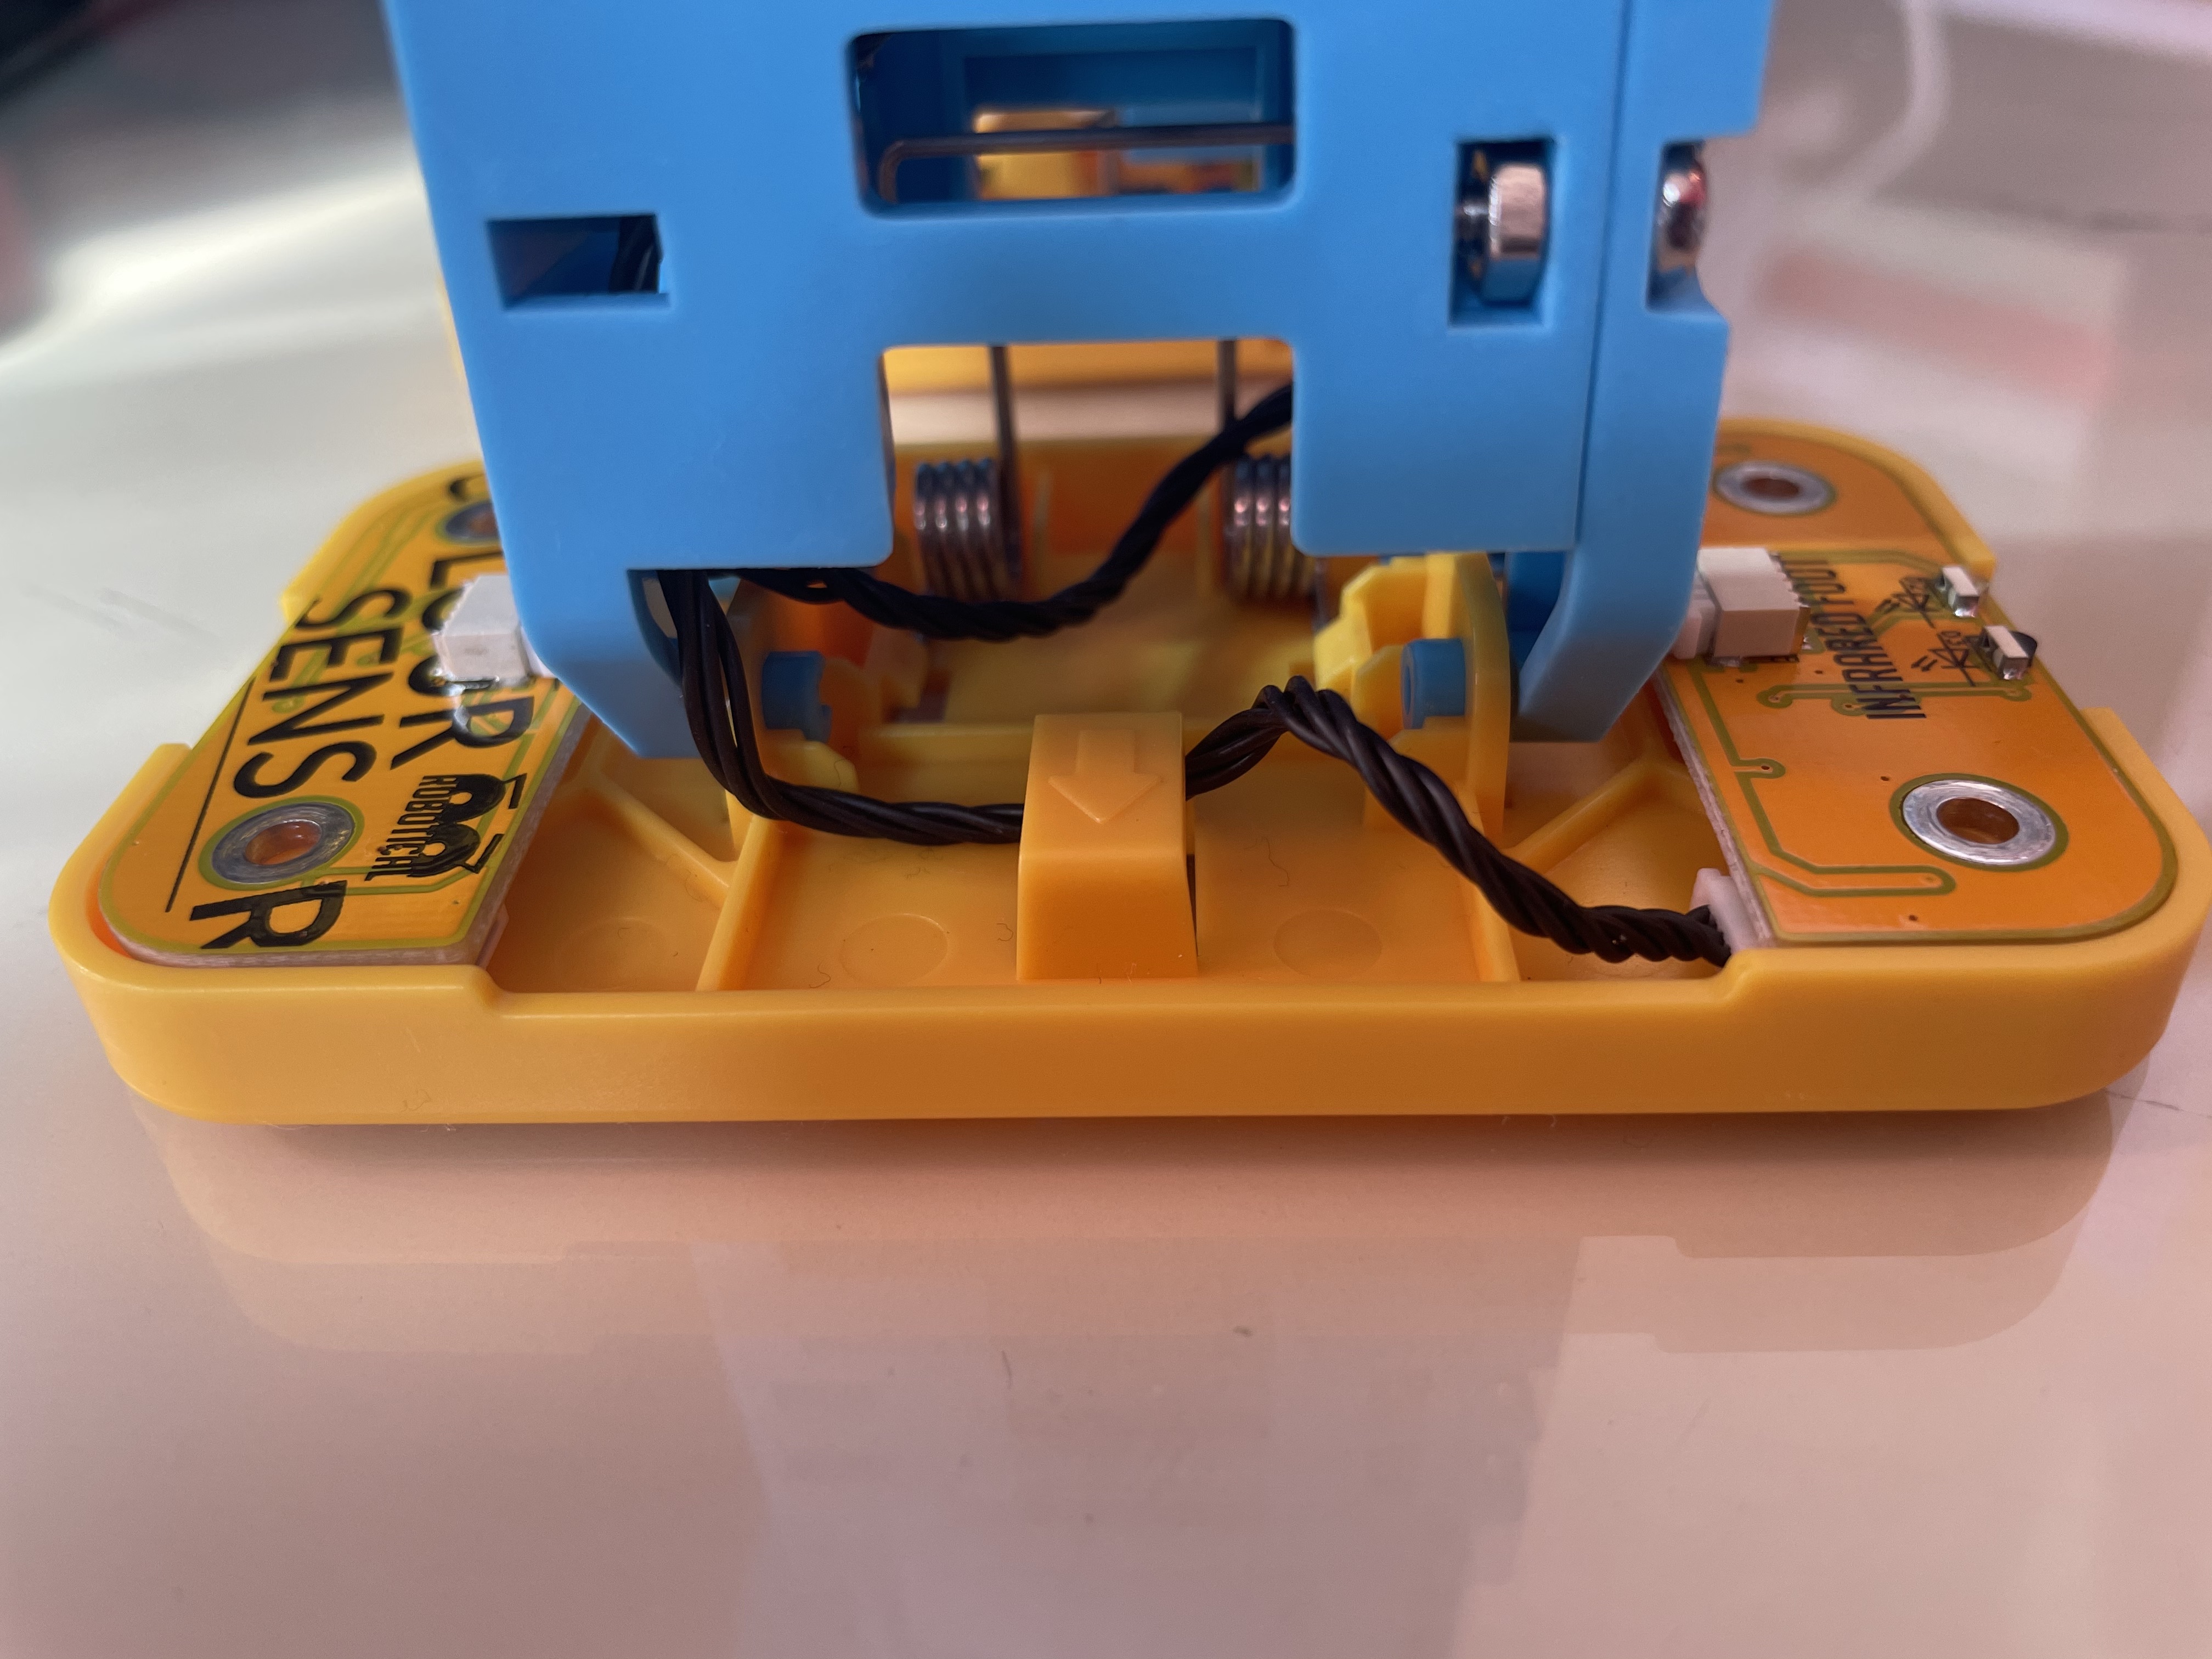
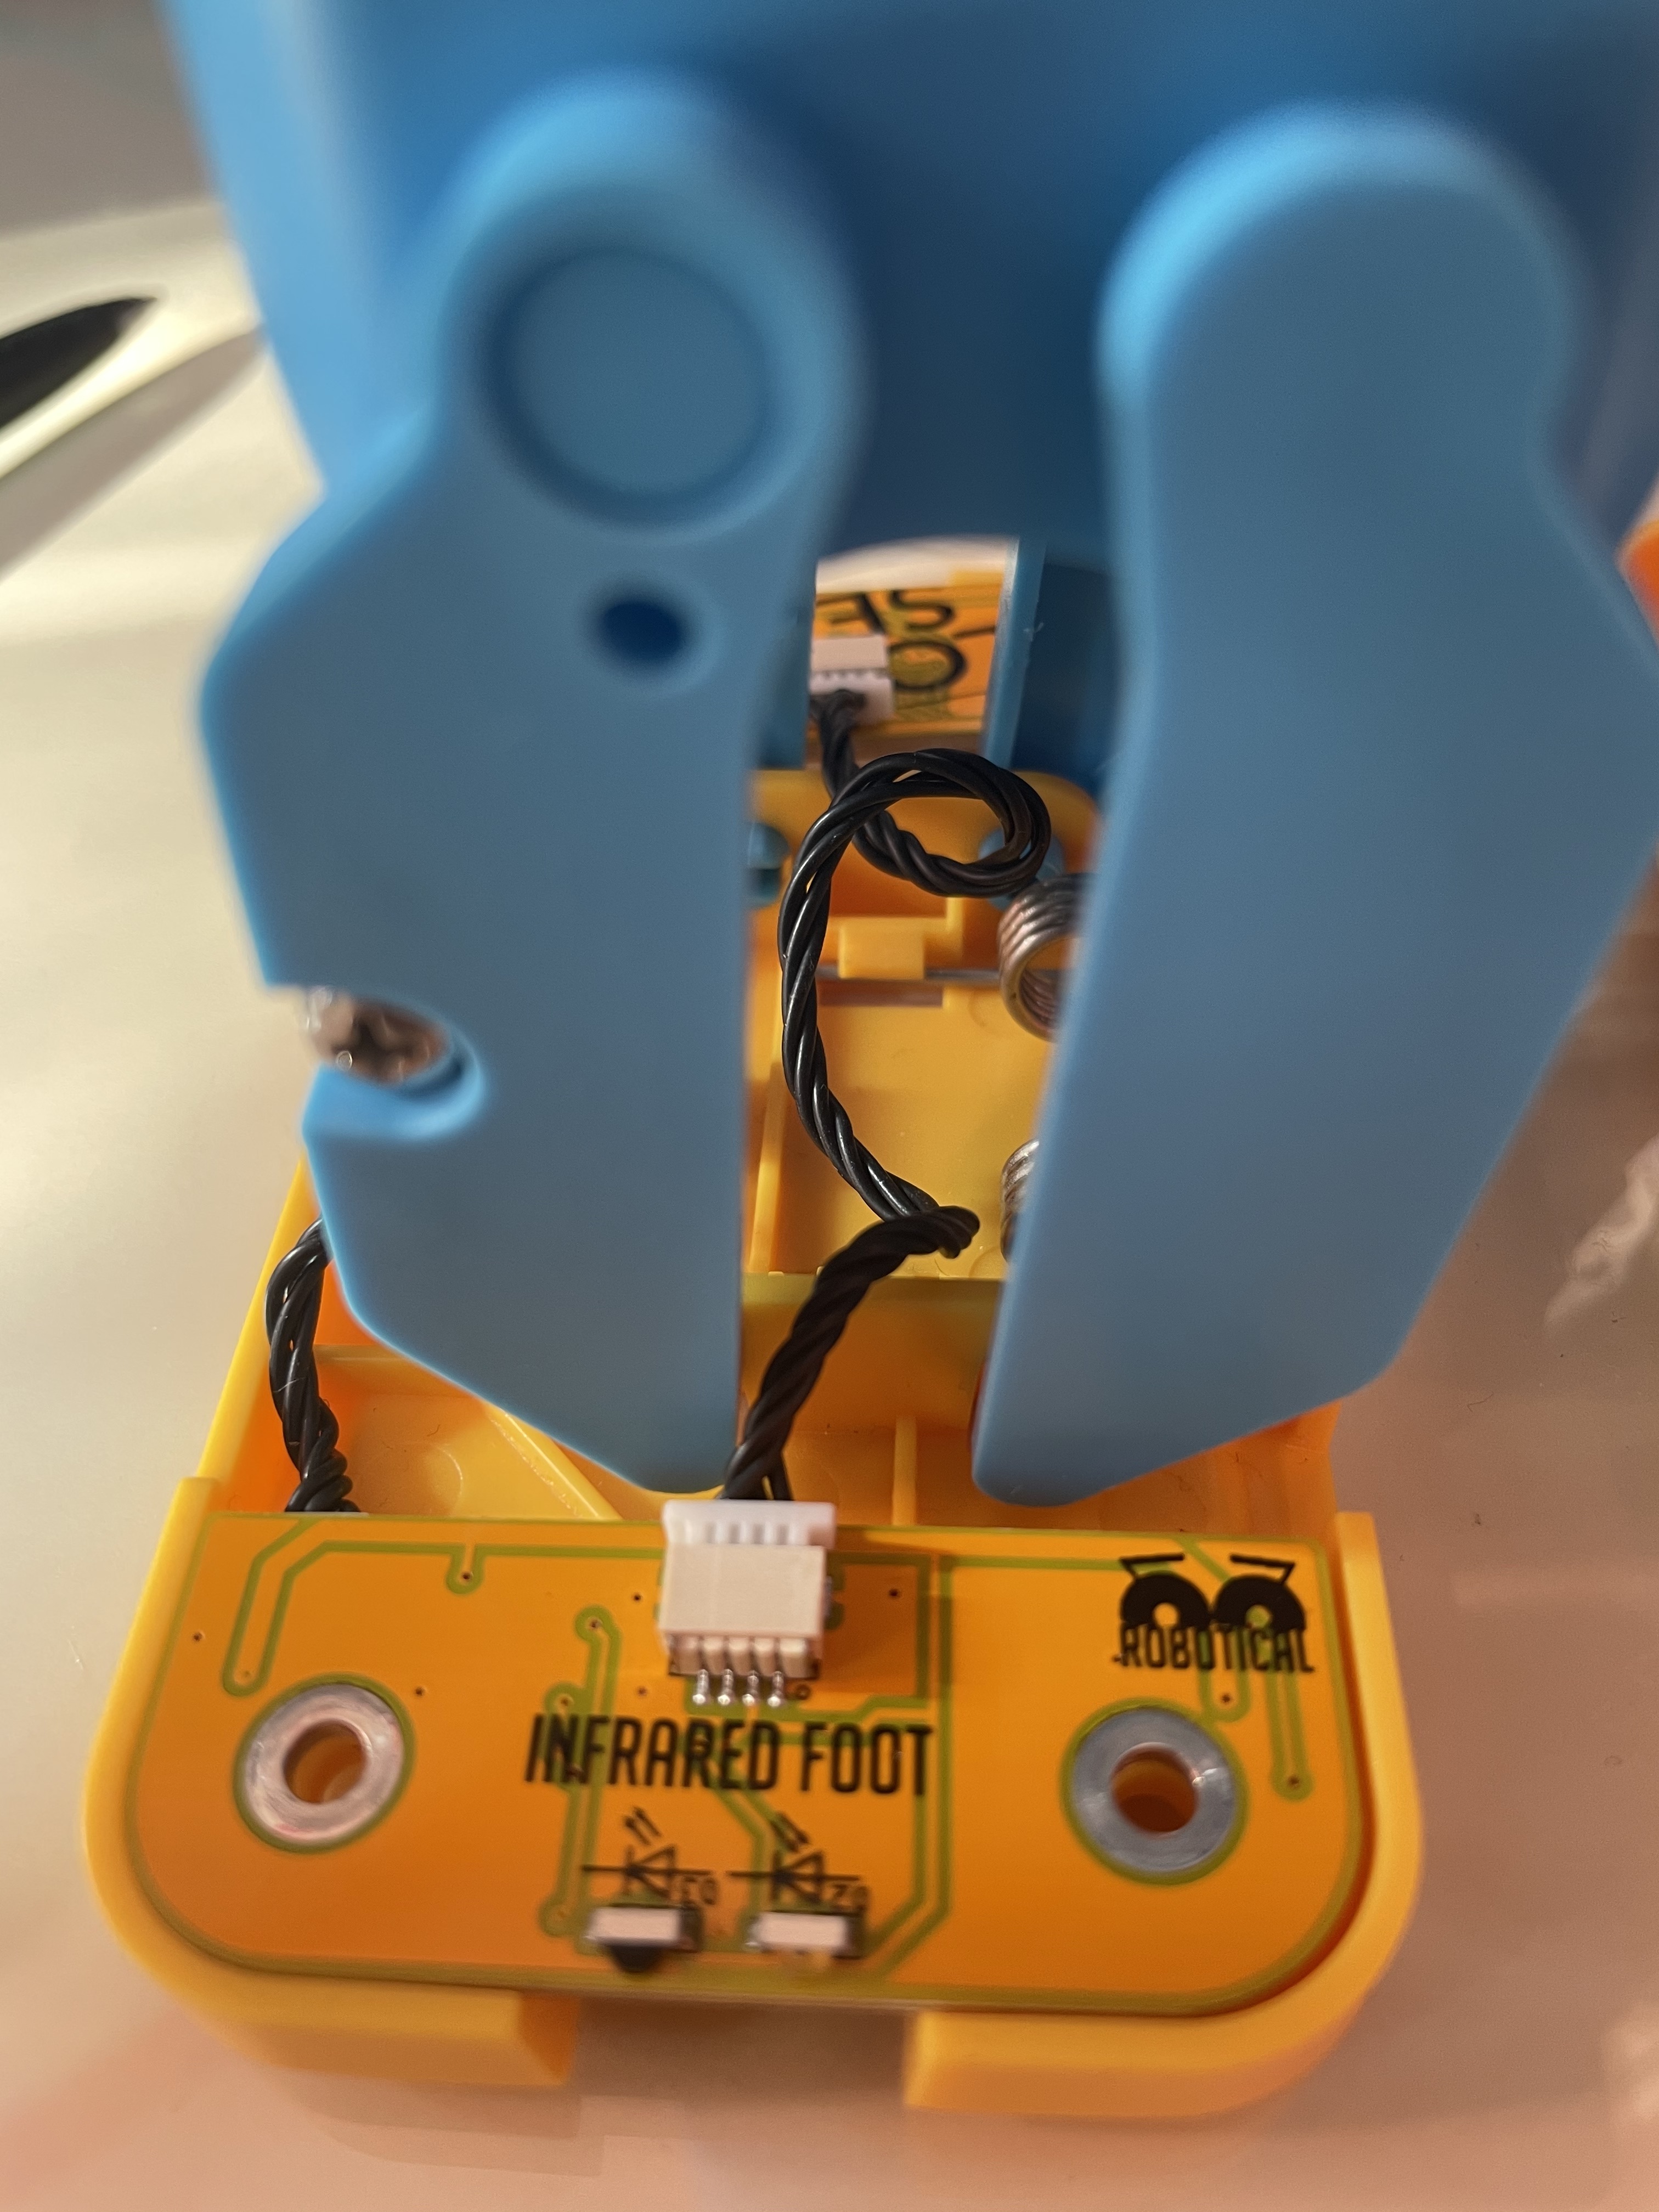
- Cable routing: Marty's leg movements can catch or tangle extra wiring. Use the sensor bridging cables supplied with Marty and route them as shown below so they do not restrict movement.
Turn Marty off before changing sensor wiring.
The video demonstrates how to connect two sensors to one foot:
Decide where to mount your sensors
In this example, the IR sensor is at the front of the foot and the colour sensor is at the back.
Connect the sensors together
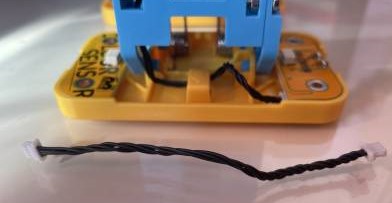
Connect a sensor bridging cable to the top-mounted connector port on each sensor. Bridging cables are supplied with each add-on or in your Marty box.
Pass the cable through the middle of Marty's leg. You may need to unscrew the sensors from the foot to make enough room to plug in the cable.
Fix both sensors to the foot
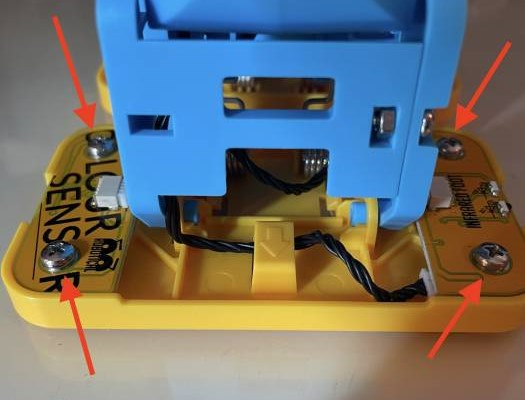
Use two M3 nuts and bolts to secure the sensors to the foot.
Checking and Configuring the Sensors
- Open the Robotical app and connect to Marty.
- Open Robot settings → Add-ons to reach Manage Add-ons.
- Check that both connected sensors appear in the list.
- Select a sensor's row or gear icon to expand its details, then follow the relevant sensor guide to finish setup.
The current Manage Add-ons screen shows the connected sensors and their names. The grey Not Connected entry is a saved configuration, rather than a currently detected sensor.

For the sensors used in this example, follow the IR sensor guide and the colour sensor guide to complete configuration.