If you've received your Marty after 2020 it's likely you have a version 2!
V-REP
V-REP allows the use of ROS through a dedicated interface, RosInterface, which is part of the V-REP API framework. By duplicating the C/C++ ROS API, V-REP can act as a ROS node and enables communication via ROS topics.
In order to do this, the interface has to be installed.
Installation
Note: To proceed, ROS and the marty_msgs package must be installed.
To install the interface, please follow Coppellia’s RosInterface installation instructions located in /$VREP_ROOT/programming/ros_packages.
Before compiling the interface, you have to tell V-REP that you will be using custom messages. This is relatively easy to do and can be done by adding the desired messages to the messages.txt file located in the meta folder of your RosInterface folder, prior to compiling the interface.
In our case:
marty_msgs/ServoMsg
marty_msgs/ServoMsgArray
marty_msgs/Accelerometer
Entering Simulation Mode
Now that the interface has been installed, the ros_marty package has to be set to simulation mode. Two files have to be edited: config.cfg and marty.launch.
Let’s do config.cfg first. This file is located within ../ros_marty/cfg and, thankfully, the change to be made is simple. Set the false variable to true:
simulated: false # Whether Marty is being simulated
Next, let’s edit marty.launch. This file is located in the launch folder of your ros_marty package. Again, the change is relatively simple, set the false variable to true:
<param name="use_sim_time" value="false"/> <!-- Enable if Simulated -->
Now, instead of using a “real-time” clock, it will use the simulator’s timing system. This is important as V-REP can be sped up or slowed down.
Initialising
Assuming your installation went well, Marty should now be able to ROS around in simulation!
Note: in order for the interface to be loaded correctly, a roscore must be running somewhere, preferably one on your machine set to a localhost.
Before we get started, let’s first check everything installed as planned. From a terminal, navigate to your V-REP root folder and run vrep.sh. This will launch V-REP but also show the status of the plugins that are being loaded within the terminal. If the interface installation was successful, V-REP will detect the plugin and will output Plugin 'RosInterface': load succeeded to the terminal.
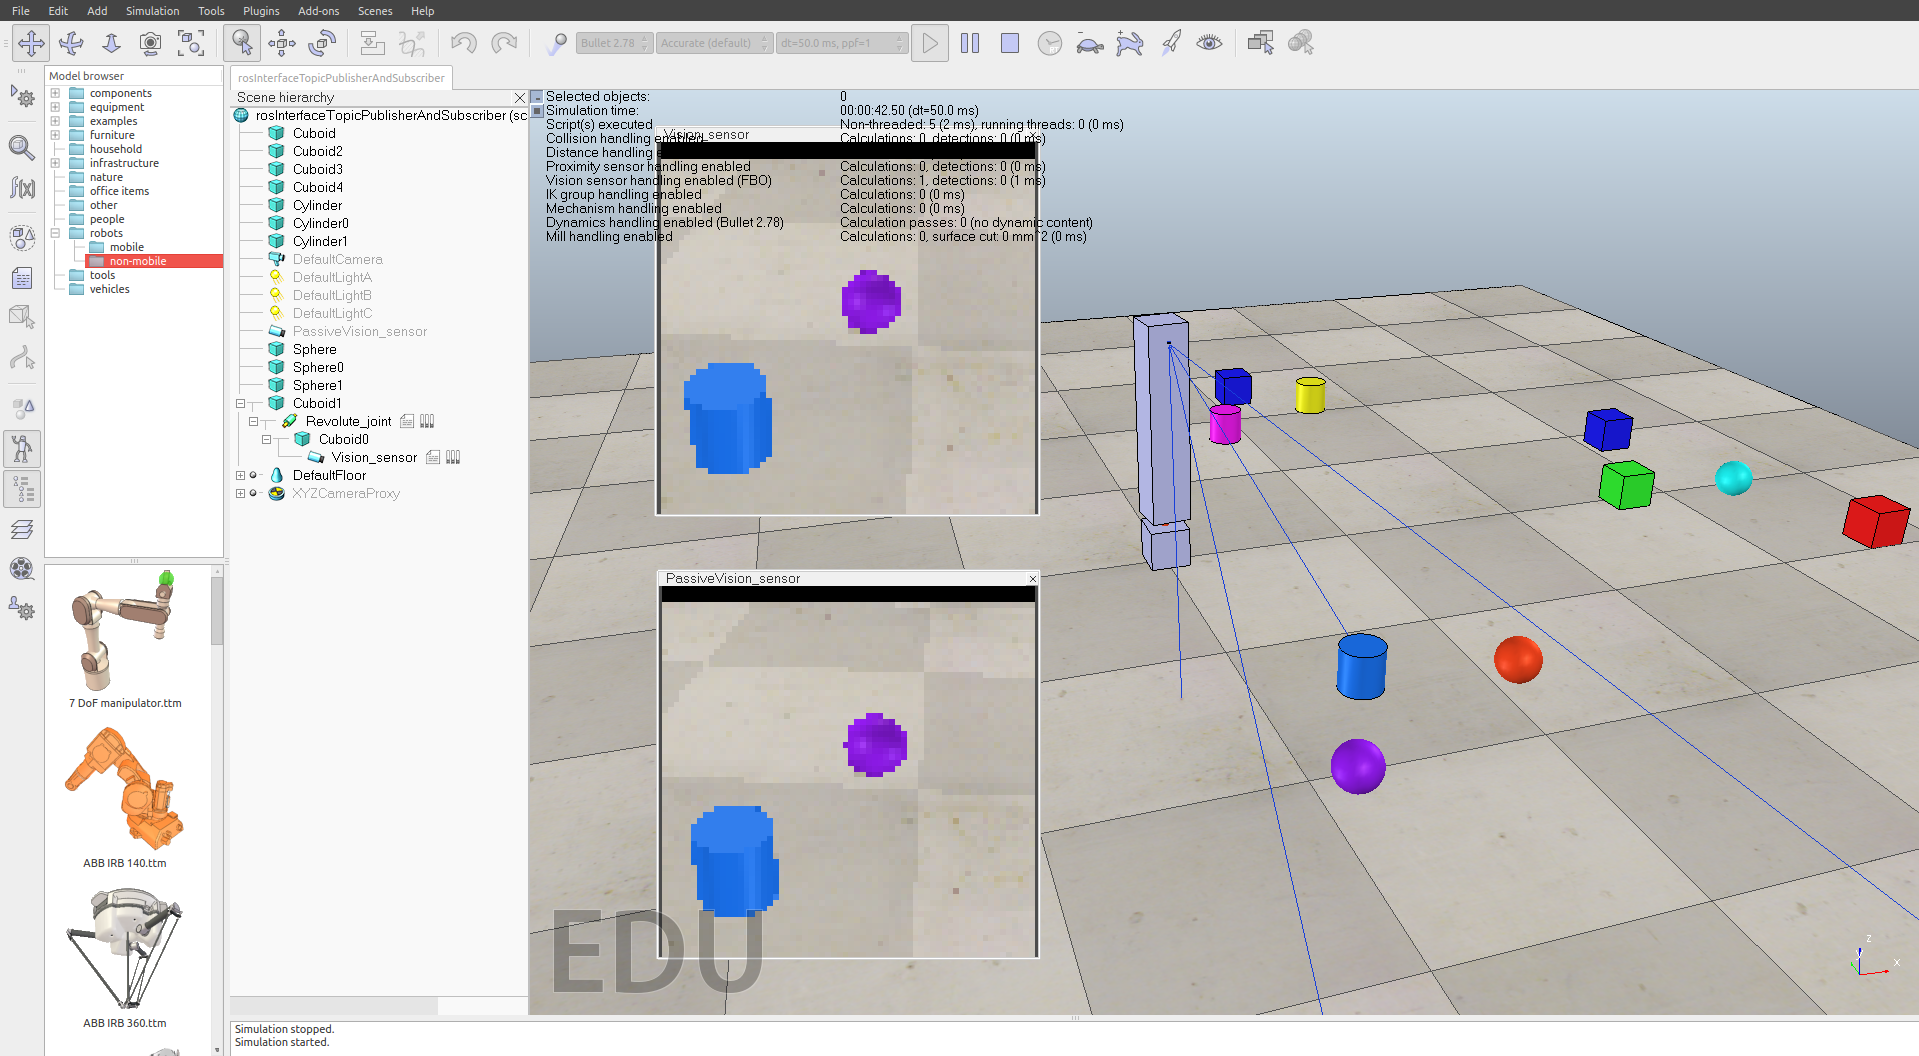
Now, in the top left corner click File/Open Scene… and from the list open rosInterfaceTopicPublisherAndSubscriber.ttt. This is the ROS demo as provided by V-REP and is designed to show the operation of a simple Publisher/Subscriber setup. Feel free to examine the source code if you wish. Next, click the Play button located on the toolbar. Your vision sensor should start sweeping the scene and display two video feeds, one that is being published and one that is being received, as shown below.
Marty the (Simulated) Robot
Note: the ros_marty stack must be executed and set to simulation mode before running V-REP for Marty to ROS around.
Before we start, execute the stack by entering the following in a terminal:
roslaunch ros_marty startup.launch
This must be running in order to do anything with Marty in simulation.
Let’s open a new scene (File/New Scene) and see what Marty can do.
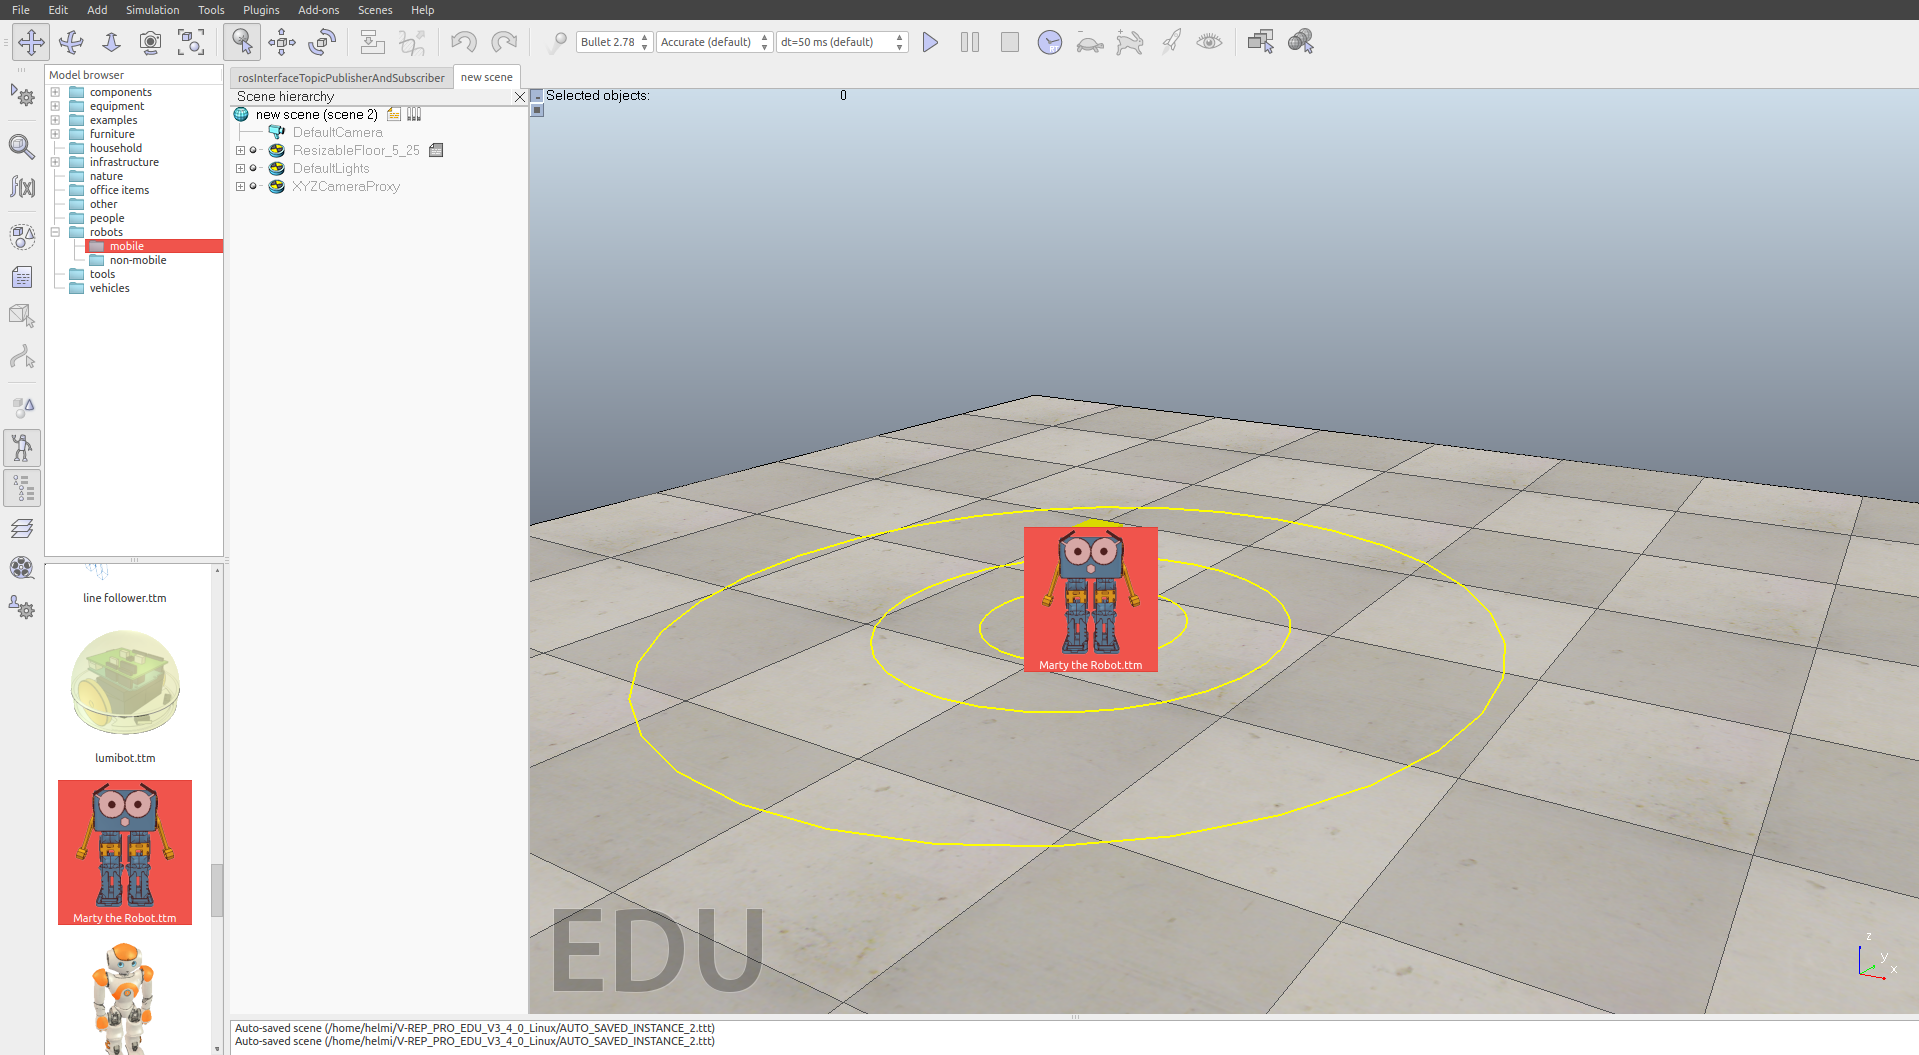
Within the Model browser, under robots, click mobile. This will list V-REP’s selection of mobile robots. Now, on the bottom left, scroll down and drag Marty on to the scene.
Now, click Play. Go ahead and open up a new terminal and enter rostopic list. A list of Marty’s visible topics should be shown.
As a final test, we can try running a demo script:
$ rosrun ros_marty servo_test
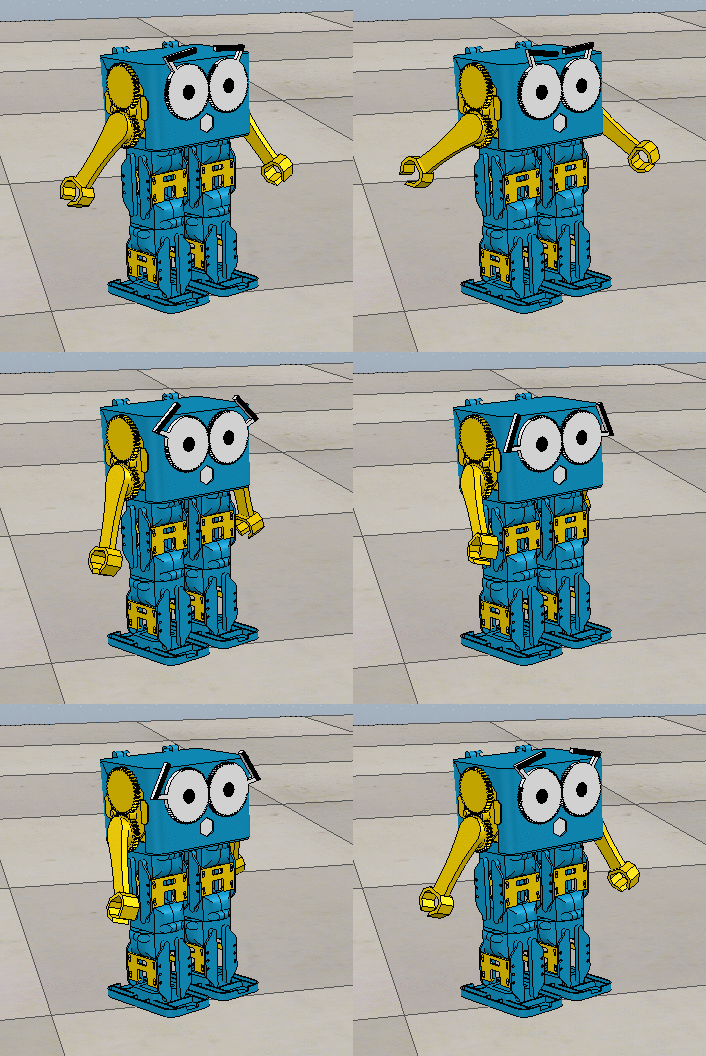
This should continously move Marty’s arms and eyes, like so:
Congrats, Marty is now officially ROSing around!
Tip: use Tab autocompletion to save time and errors typing long ROS commands in the terminal.


