If you've received your Marty after 2020 it's likely you have a version 2!
Step 24
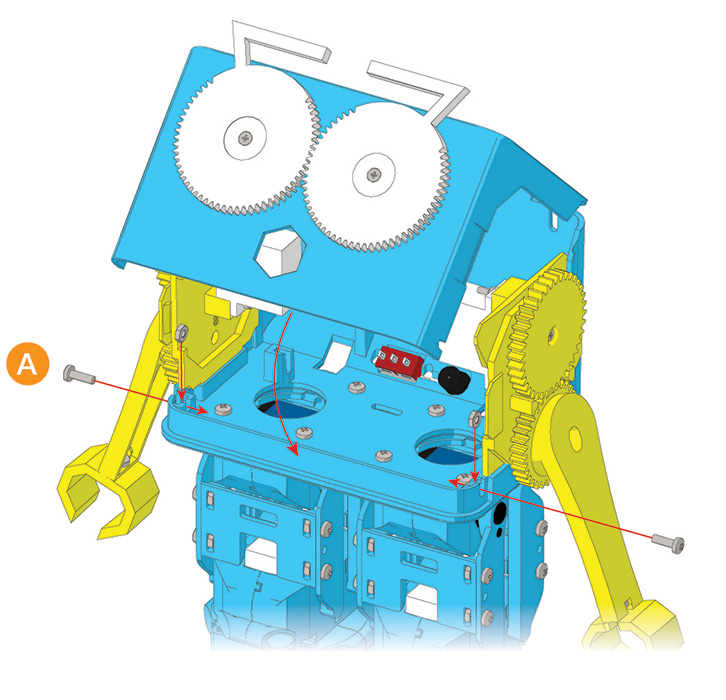
With all your electronics connected, swing the face over (making sure the Side Panel flanges end up inside the head), and screw it shut using 2 x 2.5mm Nuts and Bolts in each corner where the Head Base and Face meet.
Step 25
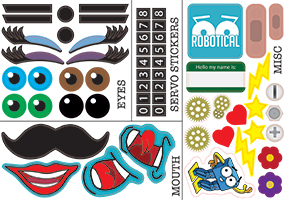
Personalise your Marty! Just before you move on to connecting Marty to your WiFi and calibration, you need to make your Marty look the part. From the Sticker Sheet you can give Marty eyebrows and eyes!
Give yourself a pat on the back! You've finished building Marty!
Now you need to get Marty on your WiFi and Calibrate the robot, then your robot will fully operational! Hit the link below to go through the WiFi Setup Guide


