The Warranty Service Platform lets you view your registered Marty robots, manage service tickets and read your support conversations.
The screenshots below use example account data.
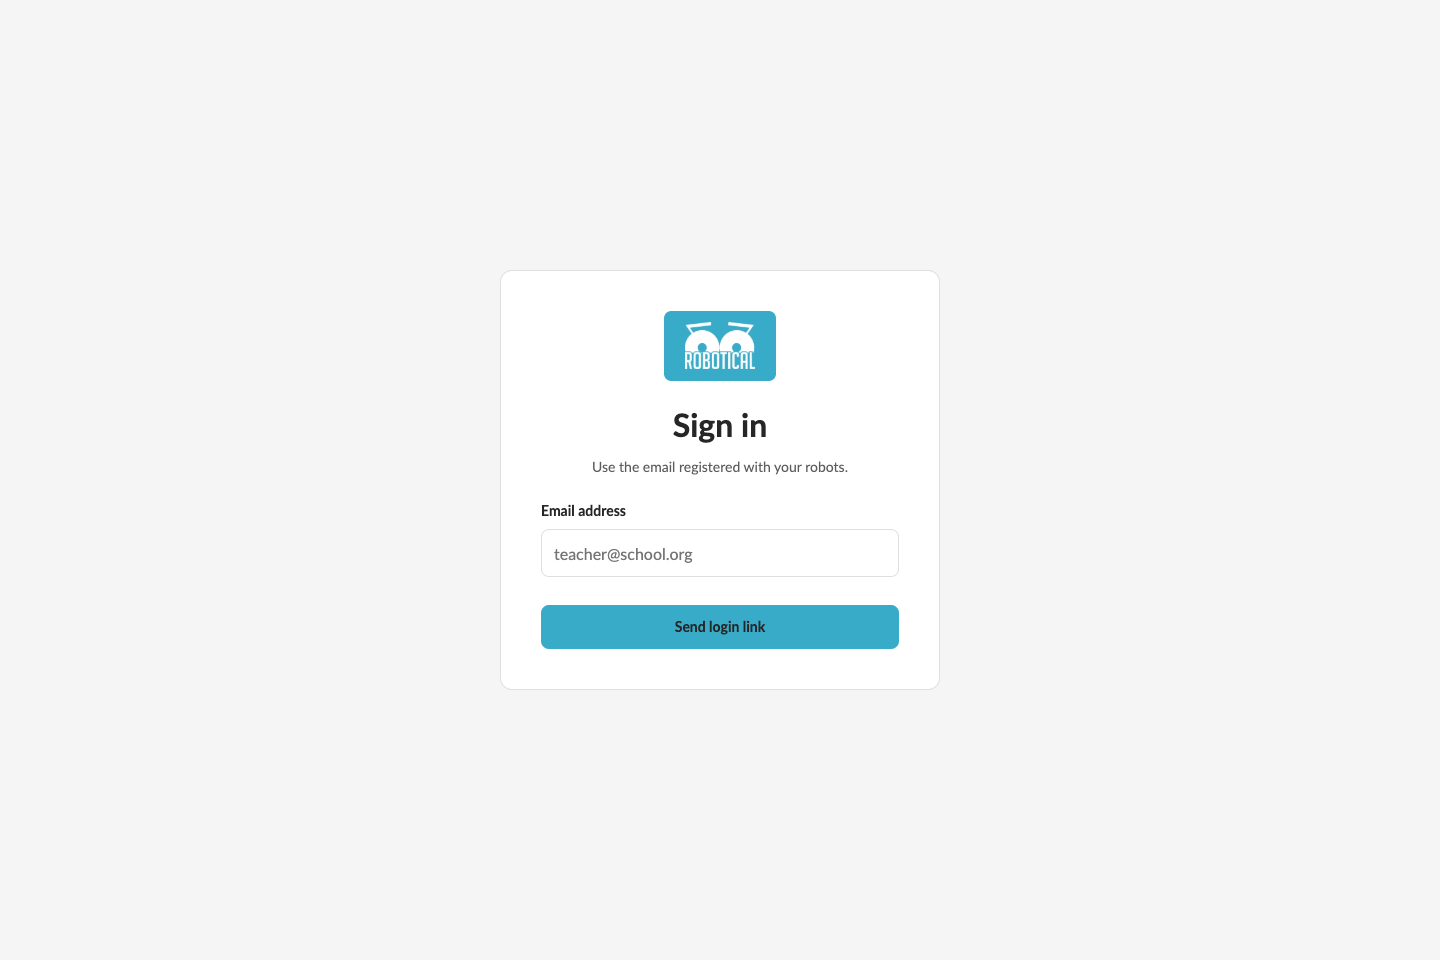
Sign in
- Open the dashboard.
- Enter the email address registered with your robots and select Send login link.
- When Check your email appears, open the login link in your inbox to continue. No password is needed.
If the email is not registered, complete registration in the Marty app first. If a login link is no longer valid, request a new one.
My robots
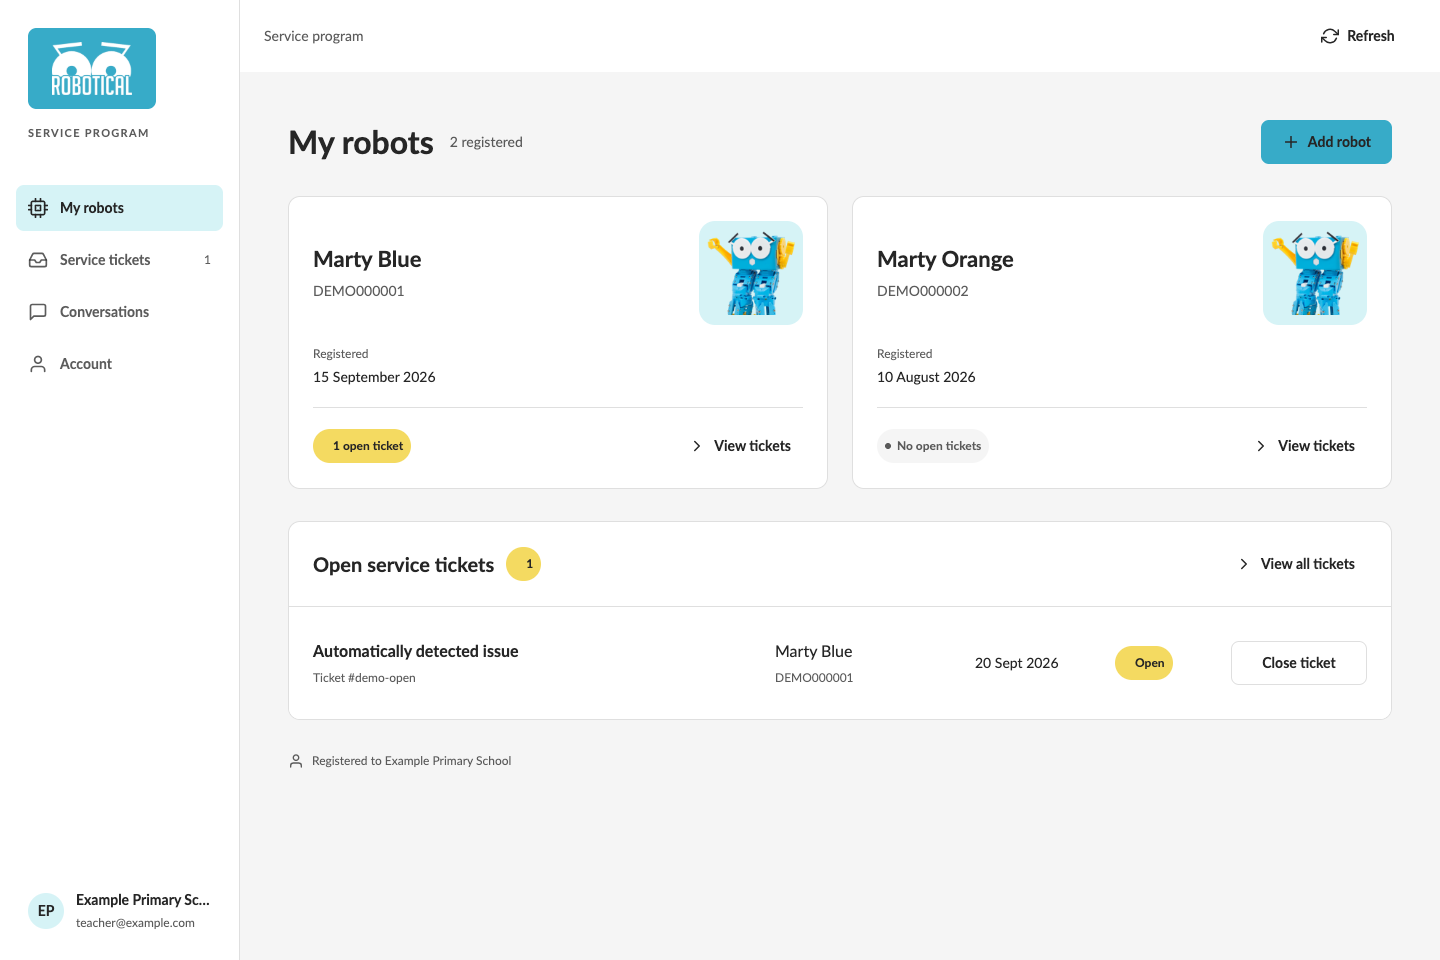
My robots shows each robot's name, serial number, registration date and number of open tickets.
Select View tickets on a robot to see its tickets. The Open service tickets section shows recent unresolved reports; View all tickets opens the full list.
Add a robot
- Switch on the robot and keep it nearby.
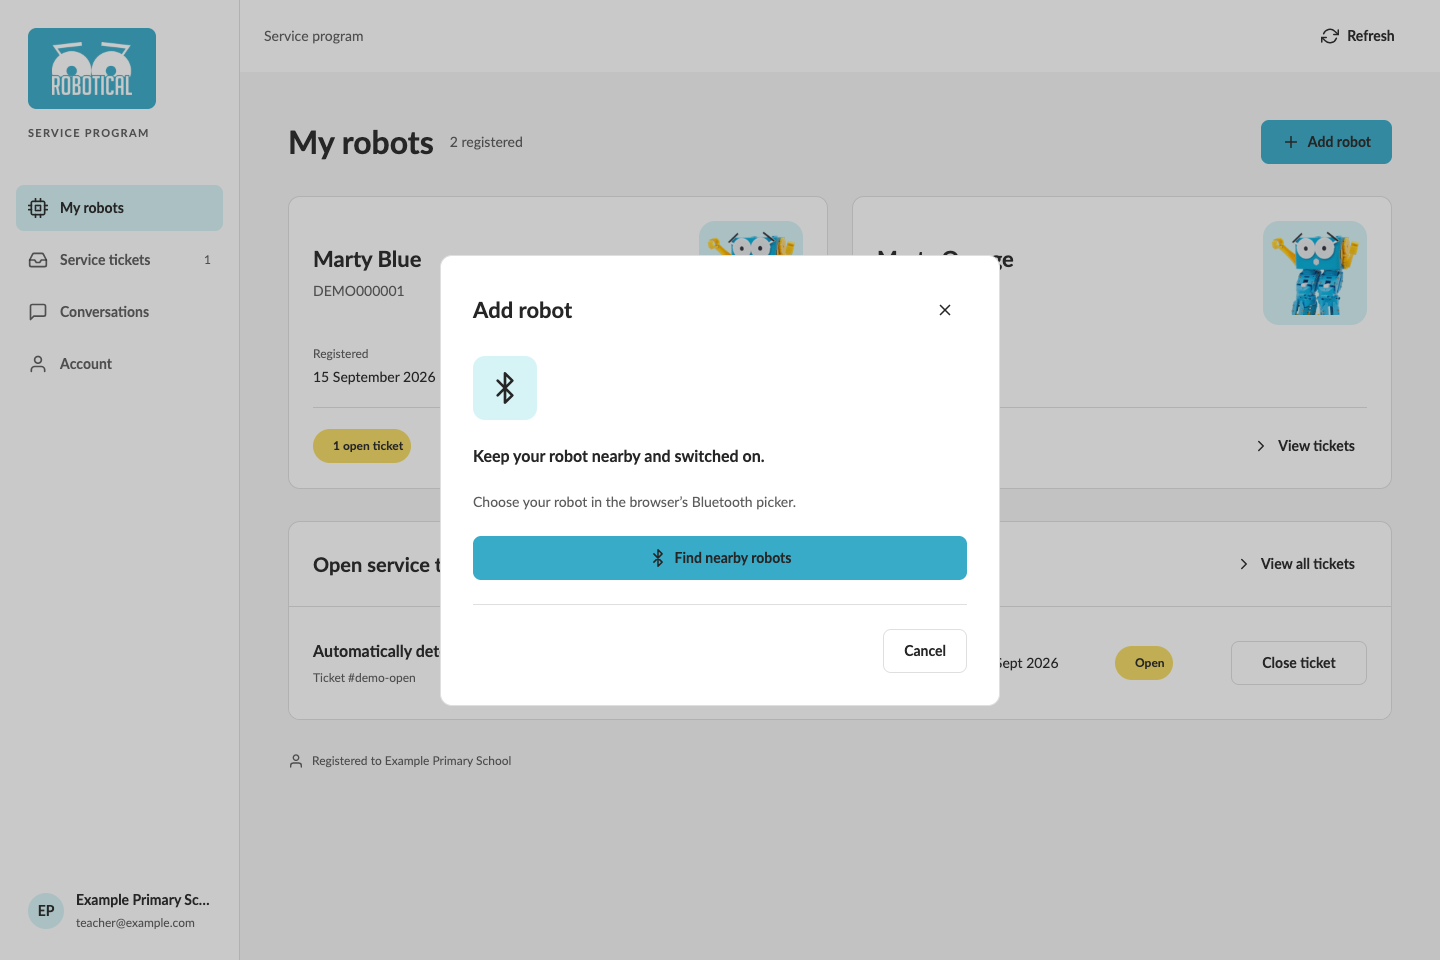
- In My robots, select Add robot, then Find nearby robots.
- Choose the robot in your browser's Bluetooth picker.
- To register several robots together, select Add another robot and repeat.
- Select Register robot (or Register robots) to save them to your account.
If Bluetooth is unavailable appears, use a browser that supports Bluetooth or add the robot through the Marty app.
Service tickets
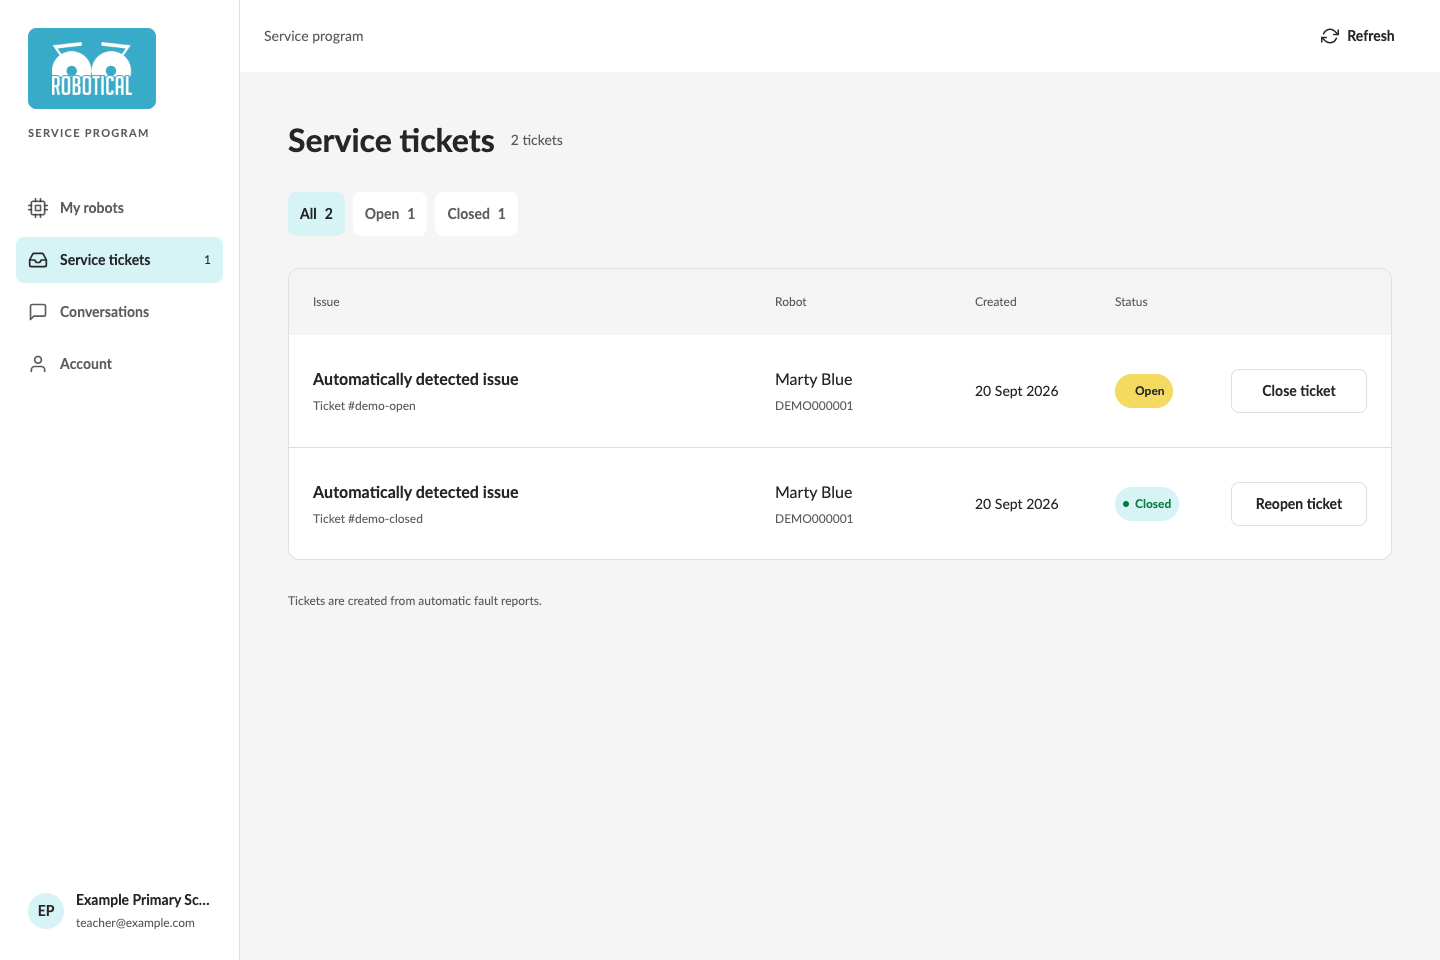
Open Service tickets to see the robot, creation date and status of each fault report. Use All, Open and Closed to filter the list.
- Select Close ticket when an issue is resolved.
- Select Reopen ticket if the issue needs further attention.
- If you arrived from a robot's View tickets link, select All robots to remove that filter.
Tickets shown here are created from automatic fault reports. To report an issue yourself, follow the support ticket instructions in the Marty app.
Conversations
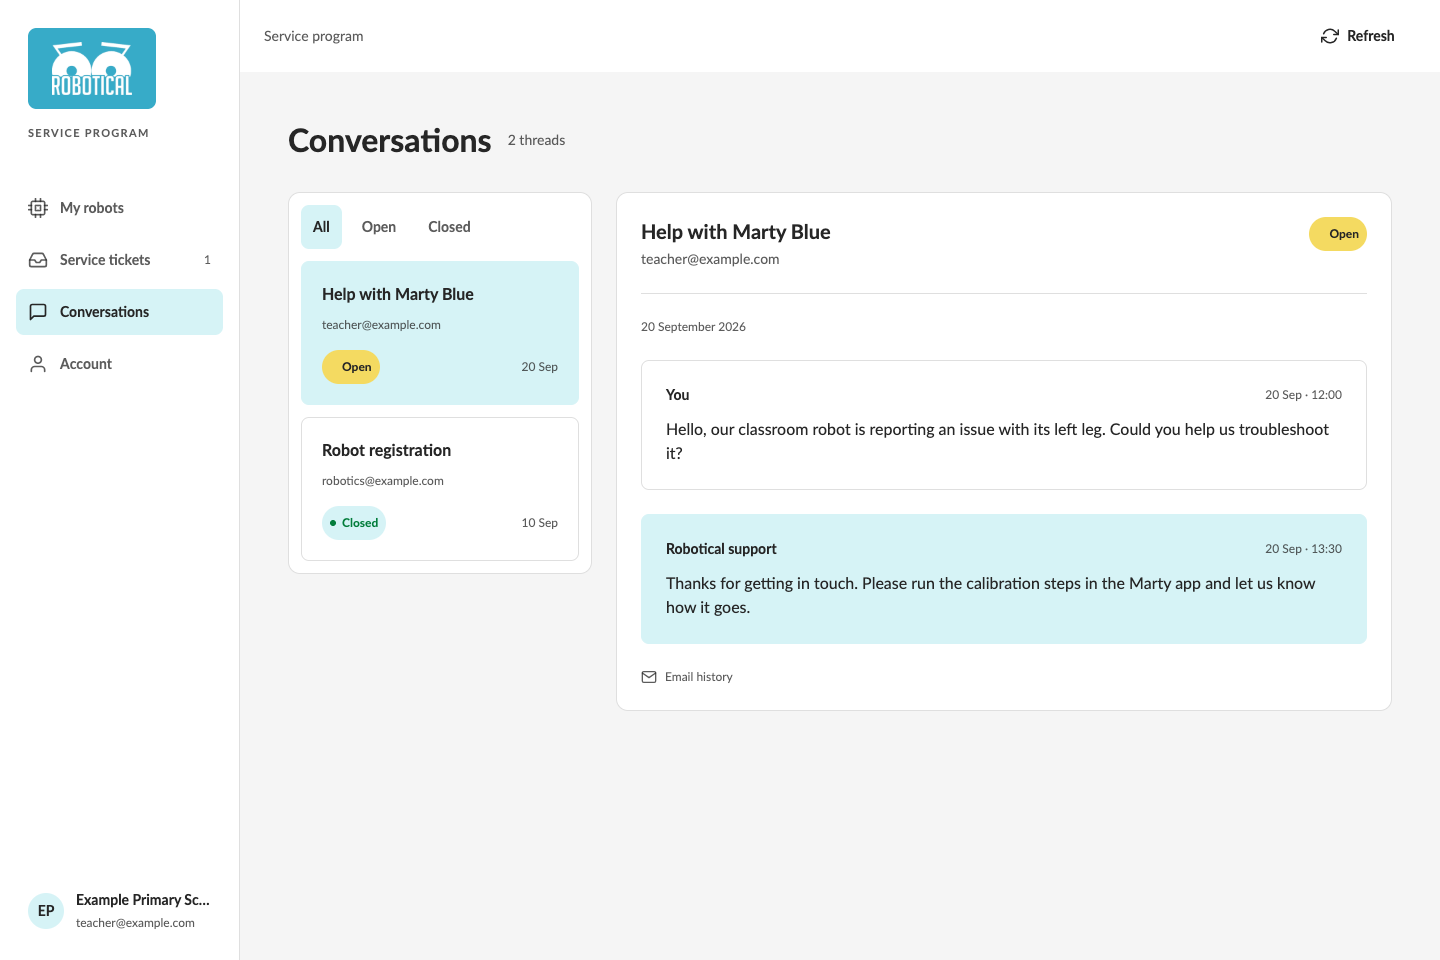
Conversations displays support email history for your primary and alternative email addresses. Use All, Open and Closed to filter threads, then select a conversation to read its messages.
To continue a conversation, reply to the support email in your inbox. On a phone, select Conversations above the message history to return to the thread list.
Account
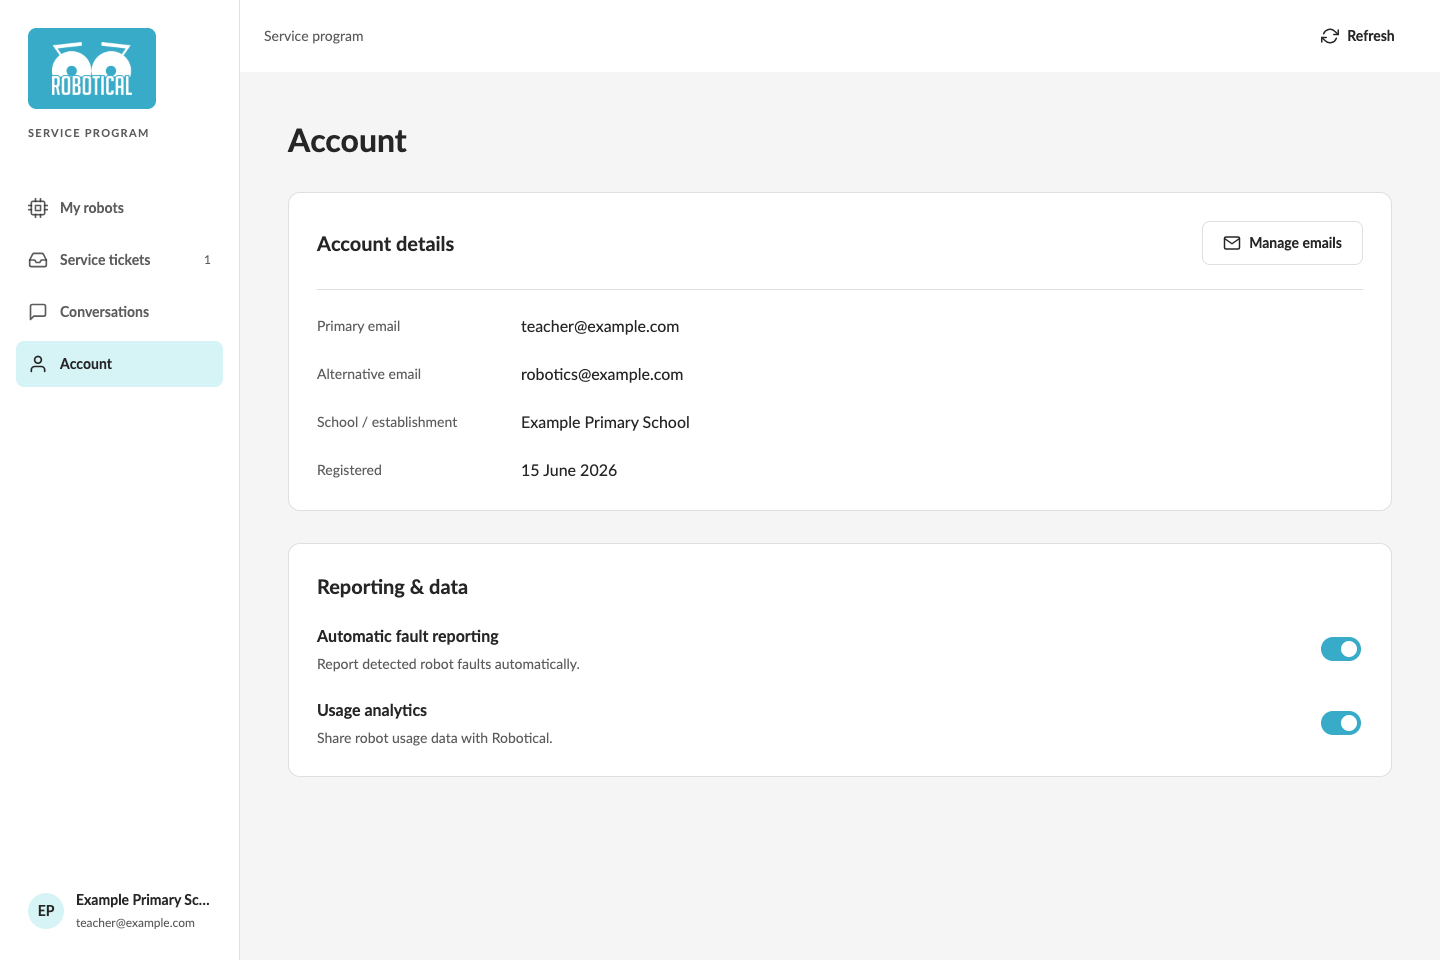
Account shows your primary email, alternative emails, school or establishment and registration date.
Under Reporting & data, you can change Automatic fault reporting and Usage analytics. Each switch saves its setting when you change it.
Manage email addresses
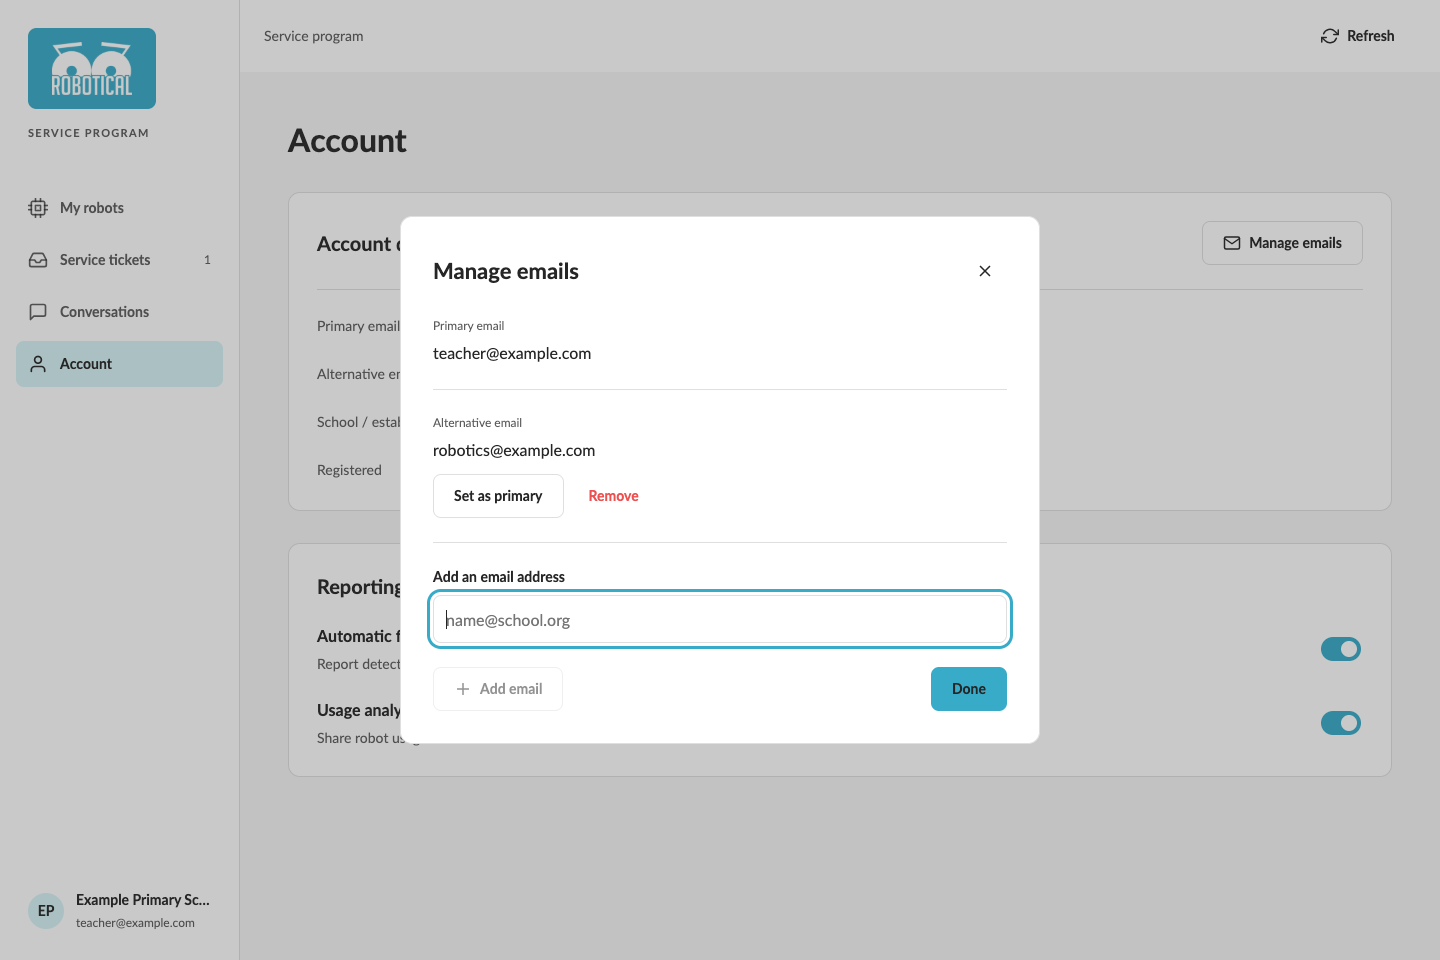
Select Manage emails.
- To add an alternative address, enter it under Add an email address and select Add email.
- Select Set as primary beside an alternative address to make it the primary address.
- Select Remove beside an alternative address to remove it.
Select Done to close the window.
Use Refresh at the top of the dashboard to reload account and ticket information. On a phone, the main navigation is at the bottom of the screen.