If you have recently had micro:bit paired over USB to MakeCode, you will need to unpair from MakeCode. Instructions about how to unpair micro:bit from MakeCode are at the bottom of this page:How to reset your micro:bit.
If this is your first time using your micro:bit with Blocks, you will need to install the Blocks for micro:bit software.
Setting up your micro:bit
1. Go to the Robotical Blocks Web App.
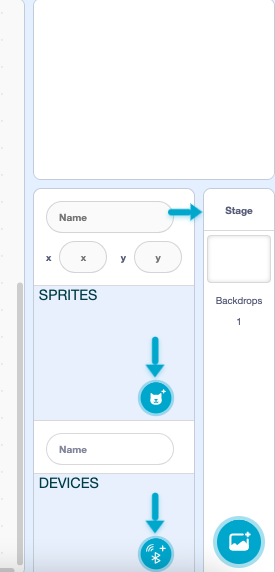
2. You can use micro:bit with the Blocks coding platform to control a physical device, such as Marty or Cog, or to control a sprite on screen. Use the Sprites or Devices selectors on the right-hand side of the screen to switch between sprites and devices.
3. Connect your micro:bit to your computer using a micro USB cable.
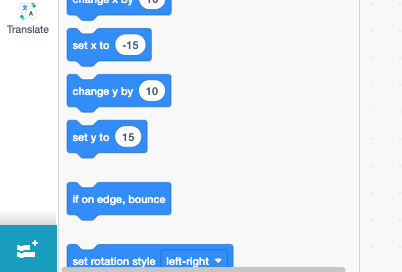
4. To add the micro:bit extension to Blocks, click the blue Extensions button in the bottom-left corner of the screen. Then select the micro:bit extension from the extensions page.
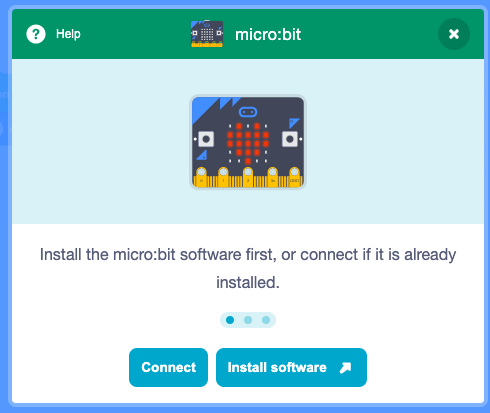
5. A pop-up window will appear with two options: Connect or Install software.
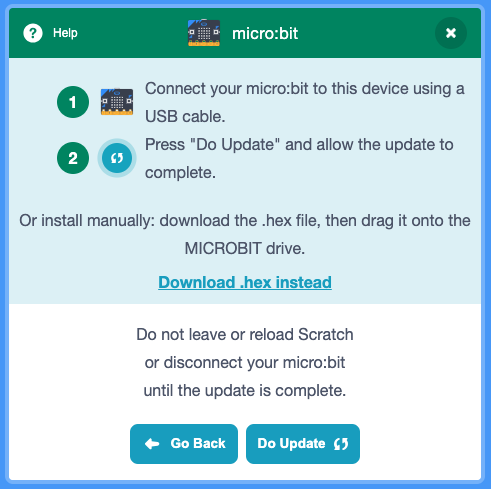
6. To install the software, click Install software. You will then have two options: update the software directly through your browser or download the .hex file and drag it onto the micro:bit's drive.
7. A pop-up window will ask you to connect your computer to your micro:bit. Select your device from the list and click Connect.
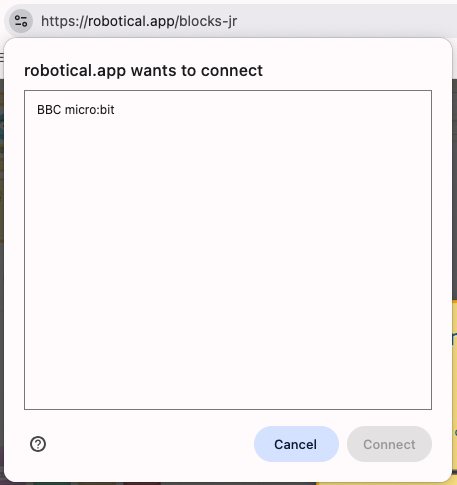
8. The LED beside the USB port will flash orange while the software is being installed. Once the installation is complete, your micro:bit will scroll a five-letter name across its LEDs.
Connecting your micro:bit
9. If the Blocks for micro:bit software is already installed, or you have just installed it successfully, click Connect instead. A pop-up window will ask you to pair your micro:bit. Select your device and click Pair. Your micro:bit's name will also scroll across its LEDs, helping you confirm that you have selected the correct device.
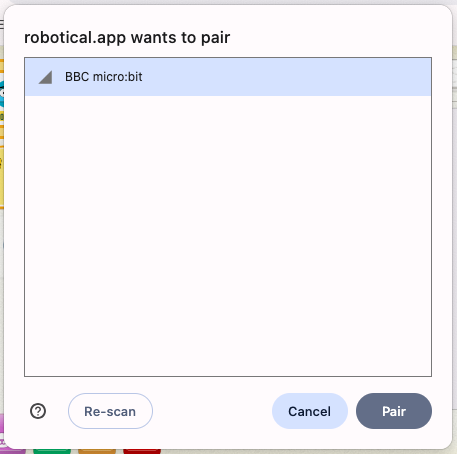
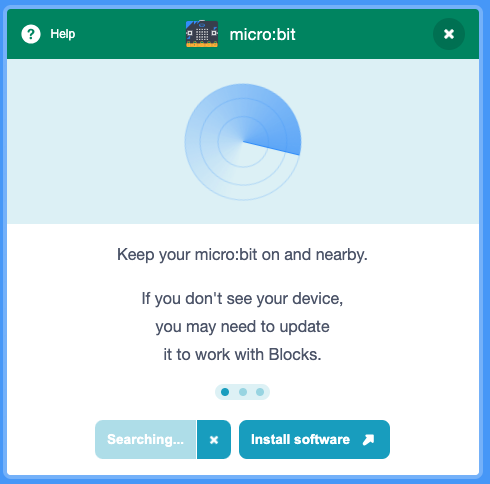
10. Once connected, a pop-up window will confirm the pairing, and a green tick icon will appear. The micro:bit blocks will also appear on the left-hand side of the screen.
11. Let's make sure it worked! Test your connection by dragging an “On Button Press” block from the green micro:bit blocks on the left of the screen into the coding area.Then add a movement block from the blue blocks. When you press the “A” button on your micro:bit, your sprite should move across the screen according to the movement block you have chosen.
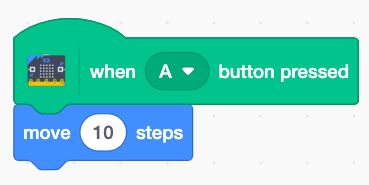
12. You're all set! You can continue to power your micro using the USB cable or connect a battery to power it independently.